
Description
These Halloween sugar cookies are charming and sweet. They’re also easy to make and frost. These irresistible treats are perfect for gift-giving, Halloween parties, and other seasonal celebrations.
Ingredients
Halloween Sugar Cookies
- 1 cup unsalted butter, softened
- 2/3 cup granulated sugar
- 1 large egg, at room temperature
- 2 teaspoons pure vanilla extract
- 3/4 teaspoon kosher salt (or 1/2 teaspoon sea salt)
- 2 1/2 cups all-purpose flour, sifted
Royal Icing
- 1/3 cup warm water
- 3 tablespoons meringue powder (not plain egg white powder)
- 1/2 teaspoon cream of tartar
- 1 teaspoon “clear” vanilla extract (not amber-colored vanilla)
- 4 cups powdered sugar, sifted
- Gel paste food coloring, for tinting the icing
Instructions
Halloween Sugar Cookies
- In the bowl of a stand mixer with paddle attachment, cream together the softened butter and granulated sugar. Add the egg. Beat briefly to combine. Add vanilla extract, sea salt and sifted flour. Mix until the flour is fully incorporated. But do not overmix.
- Form the dough into a disk and wrap it tightly in plastic wrap. Chill it in the fridge for 3 to 4 hours. Don’t skip this step. Cold cookie dough helps the cookies keep their shape in the oven.
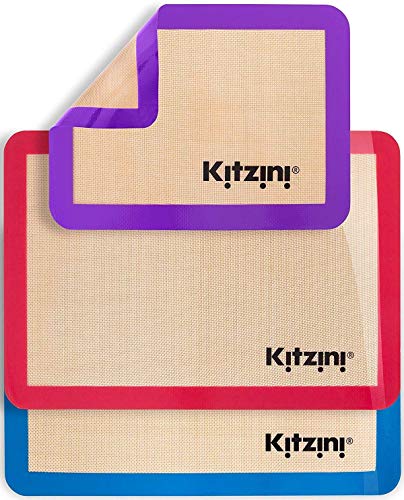
- Preheat oven to 350ºF. Transfer cold cookie dough to a lightly-floured board. Roll out the dough to a thickness of 1/4 inch. Cut out shapes with Halloween cookie cutters. Transfer cookies to a baking tray lined with parchment paper or a silicone baking mat. [Gather the dough scraps together, wrap in plastic and re-chill them briefly in the freezer. Then re-roll and cut into shapes.]
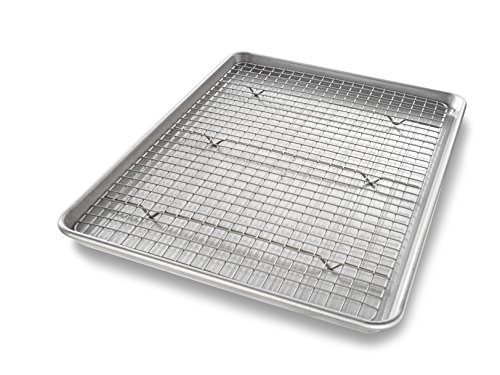
- Bake the cookies 8 to 10 minutes, or until the surface is just lightly colored but still pale. Don’t let them brown. Allow the treats to cool on the baking sheet for a bit. Then transfer them to a wire rack to finish cooling completely before decorating.
Thick Royal Icing
- In the bowl of a stand mixer with whisk attachment, beat the meringue powder and water until frothy. Add cream of tartar and vanilla. Beat briefly to combine.
- Slowly add powdered sugar and whisk until fully incorporated. Raise speed to medium-high and continue to beat until stiff peaks form (about 5 minutes).
- Reserve 1/4 of this super thick icing for piping borders/outlines and fine details like dots. Divide up the icing and tint as desired. Transfer to piping bags with Wilton #3 or #4 tips.
Flood Consistency Icing
- Transfer remaining 3/4 of the royal icing to a small bowl. Slowly stir in water until the icing is the consistency of toothpaste.
- Check the consistency: Drag a butter knife through the surface of the frosting about 1 inch deep. If the icing smooths over within 10 seconds it’s the right consistency. [If it comes together quicker than 5-10 seconds, it’s too loose. Thicken it up with more powdered sugar. If it takes longer than 10 seconds, it’s too thick. Thin it out with water.]
- Divide the icing between bowls and tint with desired colors. Transfer the icing to piping bags fitted with small round pastry tips (like Wilton #3 or #4 tips).
OPTIONAL: If you won’t be adding super-fine details, you can thin out the entire batch of thick royal icing to flood consistency. Slowly stir in water a little at a time (about 1/4 cup) until desired consistency is reached. Use it for piping borders, flooding and details.
Decorate Halloween Cookies
- With the thick royal icing, pipe borders around the edges of the cookies.
- Immediately flood cookies with flood-consistency icing by filling in the areas inside the borders.
- Use a toothpick to move around icing to fill in any gaps or holes, and to pop any bubbles. Lightly tap cookies on the counter to settle and flatten the frosting. Allow it to dry and harden completely (about 6 to 8 hours or overnight).
- After the base layer of icing is hardened, pipe on any fine details. Let frosting dry until completely hardened (about 1 hour) before stacking the cookies between small squares of parchment paper inside an airtight container.


Notes
Favorite pastry tips for decorating cookies: For these Halloween sugar cookies I decorated the entire batch (borders, flooding and details) with Wilton #3 tips. But for larger cookies I’ll use a Wilton #4. If you’d like to pipe on very fine details, a #1 or #2 tip will work best for that.
How long for frosting to harden: A thin layer of icing can dry in 2 to 3 hours, depending on humidity. But thicker layers of frosting will take 6 to 8 hours to dry (or overnight). The surface layer of icing must be fully hardened before adding details, or it will dent and/or smear. The fine details dry faster – in about 1 hour.
Recipe Yield: About 20 to 24 small/medium cookies, or 12 to 15 large cookies. It also depends on the size and shape of the cookie cutters used, if the dough was rolled to 1/4 inch thick, and if all dough scraps were used.
- Prep Time: 20 Minutes
- Dough Chill Time + Icing Drying Time: 10 Hours
- Cook Time: 10 Minutes
- Category: Desserts
- Method: Bake
- Cuisine: American