Royal Icing
This post may contain affiliate links. Read full disclosure.
This easy royal icing recipe is sweet and delicious with a smooth glossy look. It’s the perfect consistency for piping. Use it for cookies that will be stacked, and to decorate gingerbread houses, cakes, and other desserts.
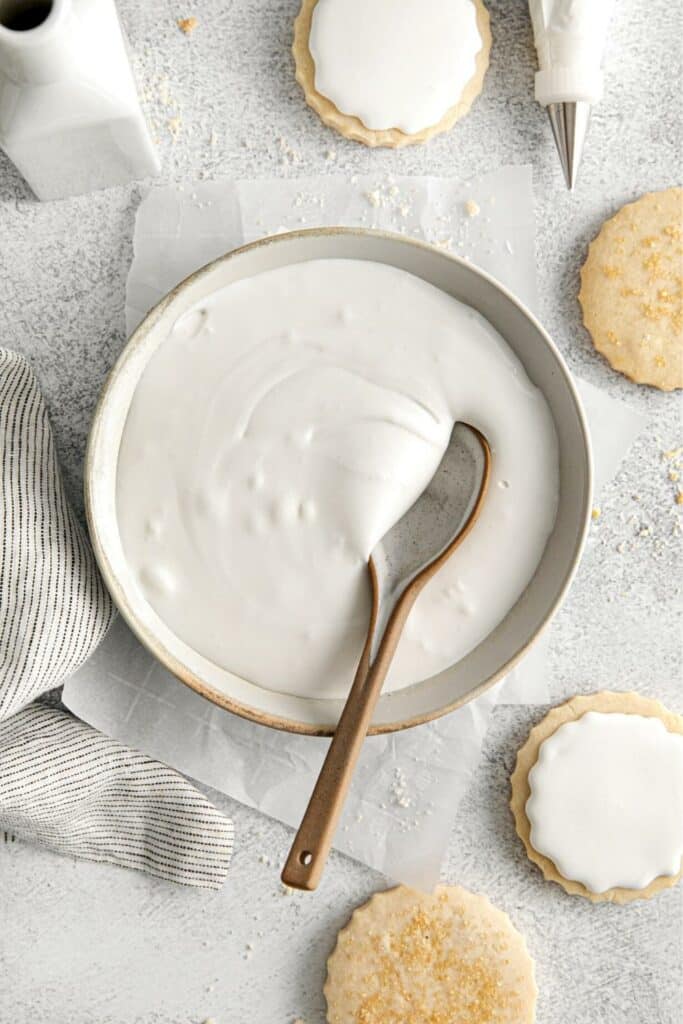
For decorating sugar cookies, shortbread cookies and more, all you need is this one royal icing recipe for piping borders and flooding. It’s super convenient and easy to use. Thin layers of frosting can harden in 2 to 3 hours. Thicker layers of frosting may need 6 to 8 hours, or overnight.
We start with a thick batch of royal icing and divide it in half. We keep a portion of it thick for piping borders and fine details. We thin out the rest to flooding consistency for frosting the cookies with a super-smooth finish.
But if desired, you can thin out the entire batch of icing to flood consistency and use it for both borders and flooding. This is ideal if you have just 1 metal tip to work with, and won’t be adding any super-fine decorating details.

🛒 INGREDIENTS
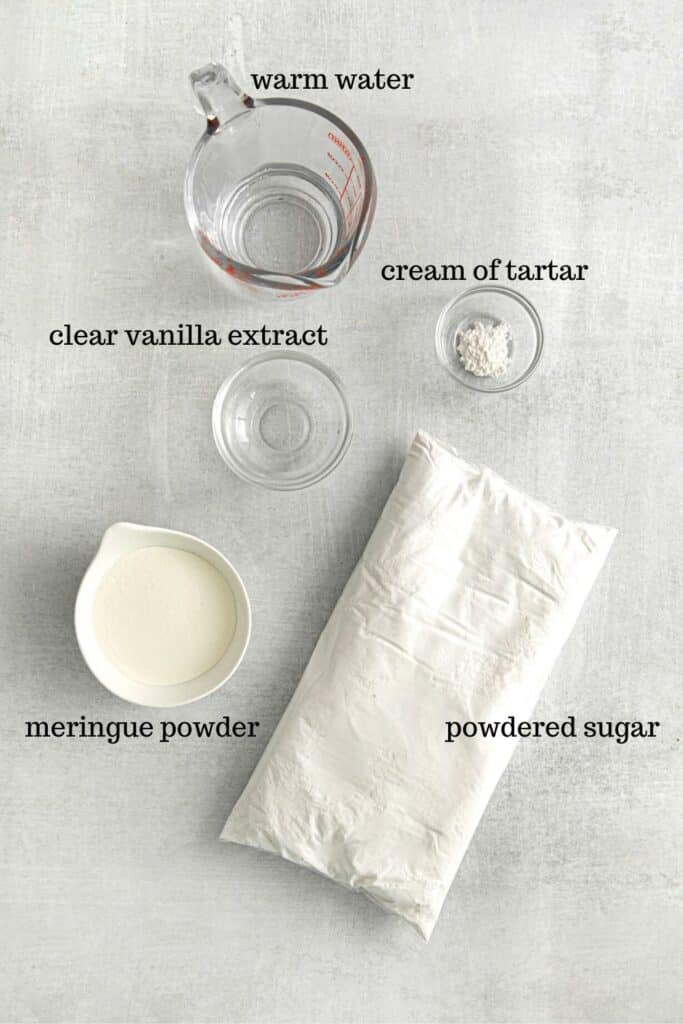
- Warm Water: It’s used to dissolve the meringue powder.
- Meringue Powder: This ingredient replaces raw egg whites – which can increase the chance of food-borne illness from salmonella. Learn more about salmonella and eggs from the CDC.) This handy powder also helps make our royal icing smooth and glossy.
- Cream of Tartar: Helps stabilize and strengthen the icing. It also helps keep the sugar from crystalizing.
- Powdered Sugar: This is the base of our royal icing. It’s the very same product as confectioner’s sugar, and powdered icing sugar.
- Clear Vanilla Extract: This gives the frosting an authentic bakery flavor. We’re using clear vanilla (instead of amber-colored) to keep the royal icing a sharp clear white.
Gel Food Coloring: For tinting royal icing it’s important to use gel food coloring, not liquid food coloring, to protect the consistency of the icing.
📖 HOW TO MAKE ROYAL ICING
Thick Consistency
Texture: This super-thick consistency is ideal for piping borders/outlines, and for fine decorating details like dots.
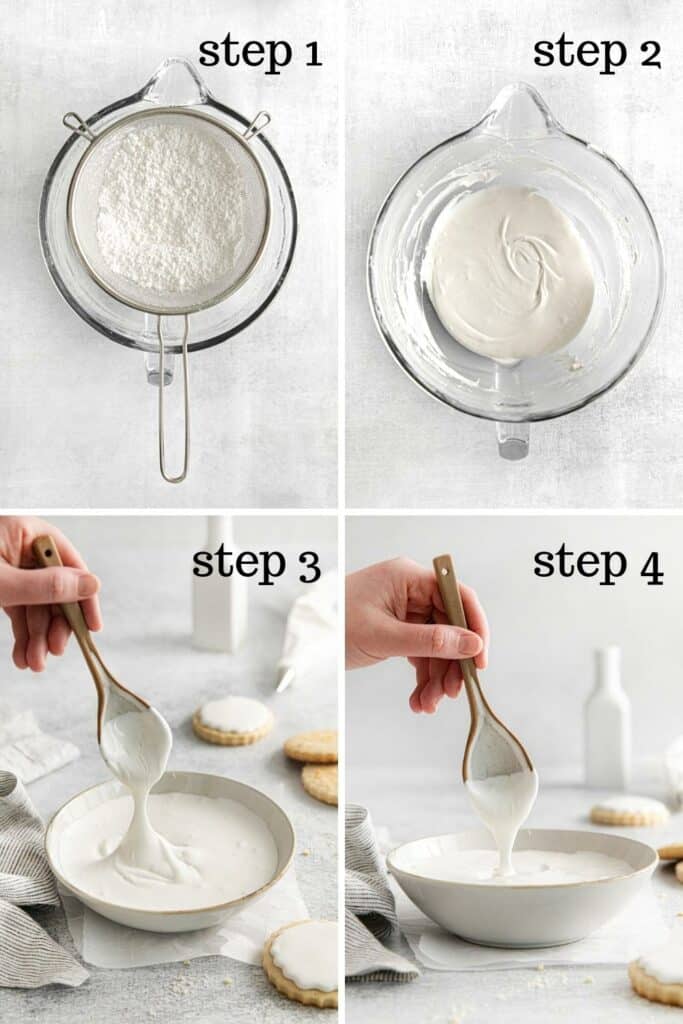
- STEP 1: Add water and meringue powder to the bowl of a stand mixer with whisk attachment. Whisk until frothy. Add cream of tartar and vanilla. Whisk to combine. Slowly add powdered sugar to the bowl.
- STEP 2: Whisk until fully incorporated. The icing should have thick stiff peaks. Divide the icing between 2 bowls. Keep the surface covered at all times with a damp paper towel.
- STEP 3: Reserve 1 bowl of thick icing. We’ll be keeping it at this consistency. If desired, tint it with gel food coloring. Transfer it to a piping bag fitted with a small round pastry tip.
Flood Consistency
Texture: This consistency is thinner and looser. It’s perfect for frosting cookies. It dries into a hardened, flat, super-smooth surface.
- STEP 4: Stir 1 tablespoon water into the second bowl of icing. Continue adding more water (about 1 to 1 1/2 tablespoons), a little at a time until the consistency is similar to toothpaste. Keep the bowl covered with a damp cloth. If desired, tint the icing. Transfer it to a piping bag fitted with a small round metal tip.
HOW TO TINT ROYAL ICING
REMINDER: Use gel paste food coloring (not liquid food coloring). I prefer Wilton or AmeriColor. The icing colors are vivid and highly concentrated.
- STEP 1: Make sure you have enough royal icing on hand for your project before you begin tinting the frosting. Later, it can be hard to match the same exact shades of color in different batches of icing.
- STEP 2: Dip a toothpick into the color, then swirl it into the white icing.
- STEP 3: Add a little color at a time until you achieve the desired shade.

QUICK DECORATING TUTORIAL
How to Decorate Sugar Cookies with Royal Icing
- STEP 1: Transfer each type of royal icing to a piping bag fitted with a small round decorating tip. (See below for tip suggestions.)
- STEP 2: Pipe a border around the edges of the cookie. Immediately frost the cookie with flood-consistency icing, taking care to stay inside the border outline you created. Work quickly as the surface dries fast.
- STEP 4: If there are tiny areas of uneven coverage, use a toothpick or icing scriber needle to move around the frosting and fill in those areas. And with the same tool, pop any little bubbles to release the air.
- STEP 5: Lightly tap the cookie on the counter a few times to flatten out the surface so it sets up evenly. Let the icing dry and harden (6 to 8 hours or overnight) before adding any fine decorating details.
PIPING TIPS: For decorating sugar cookies, I prefer using just 1 or 2 tip sizes. Wilton #3 or #4 for piping borders, and the same sizes for flooding. But for super-fine details the #1 and #2 are helpful. For larger details the #5 is great.

RECIPE FAQ
These are the most commonly-asked questions for making the BEST royal icing, and the most helpful answers for recipe success.
It’s a special type of icing that hardens when it cools. It’s ideal for frosting cookies that will be stacked. It’s also the type of frosting used for making gingerbread houses as it keeps the pieces together.
The secret ingredient is Wilton meringue powder. It’s an egg substitute that’s easy to use and gives the icing a smooth glossy consistency. And it alleviates salmonella concerns about using raw egg whites in the icing. You can buy this product online, at most large grocery stores, at Walmart (find it in the cake decorating tools aisle) and at craft stores.
This manufacturer uses Julian date codes. This can be frustrating when you’re hoping for easy-to-read expiration dates on products. But here’s how to decipher them: how to read Wilton manufacturing dates.
Lift up the spoon (or whisk) from the mixing bowl. If the icing that drips down melts smoothly back into the bowl of icing within 5 to 10 seconds, it’s the perfect consistency. However, if the icing’s too thin, add more powdered sugar. If the icing’s too thick, add a bit more water. Here’s a Taste of Home youtube video that shows royal icing consistency.
Transfer it to an airtight container. But before snapping on the lid, cover the entire surface of the icing with plastic wrap to protect it from air. Royal icing can be stored at room temperature or in the fridge (my preference – to better protect it from separating) for up to 4 weeks.
Yes. You can freeze royal icing up to 2 months. For convenience, freeze it in piping bags with the air squeezed out – place the filled piping bags into zip-top freezer bags. Another option: freezing icing flat in zip-top freezer bags so the bags can be stacked and save room in the freezer. To use, thaw it in the fridge overnight then bring it to room temperature.
Place cookies on a parchment paper-lined tray and stick them into the refrigerator until the icing has hardened.

recipes to add to your collection
These are classic recipes every baker needs in their collection. Pin them to Pinterest so you’ll have them on hand whenever you need them.
- Best Sugar Cookie Recipe
- Vanilla Buttercream Frosting
- Iced Oatmeal Cookies
- Pumpkin Sugar Cookies
- Vanilla Creme Sandwich Cookies
- Witch Finger Cookies
RATE THIS RECIPE ⭐️⭐️⭐️⭐️⭐️
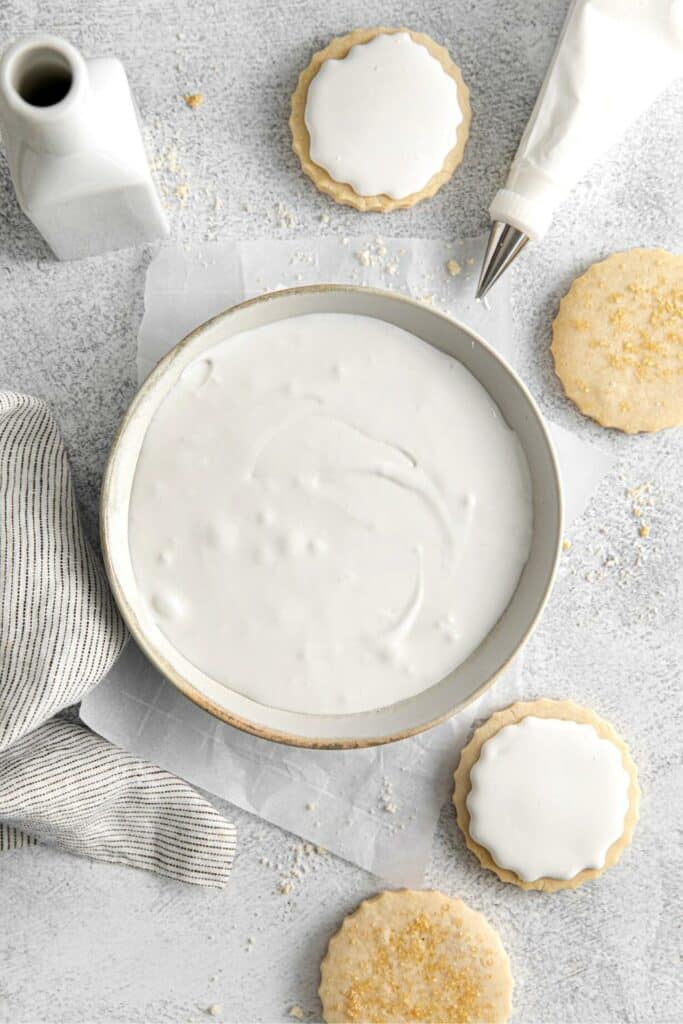
Flavor testers rated this the BEST royal icing recipe. They loved the flavor and texture of this delicious frosting. For food safety, they also liked the fact that this recipe uses meringue powder instead of raw egg whites.
If you too enjoyed this flavorful icing, give it a 5-star rating in the comments. Then be a recipe hero. Pin it to Pinterest. Share it with a friend.


Royal Icing
- Total Time: 5 Minutes
- Yield: 3 Cups 1x
Description
This royal icing is ideal for decorating cookies that can be stacked. We keep half the batch thick for piping borders and fine details. We thin out the rest to flooding consistency for a super-smooth finish.
Ingredients
Royal Icing
- 1/3 cup warm water
- 3 tablespoons meringue powder (not plain egg white powder)
- 1/2 teaspoon cream of tartar
- 1 teaspoon “clear” vanilla extract (not amber-colored vanilla)
- 4 cups powdered sugar, sift to remove lumps
Optional: Gel paste food coloring (in desired colors)
Instructions
Royal Icing – Thick Consistency
Texture: This consistency is ideal for piping borders/outlines, and for fine decorating details like dots.
- In the bowl of a stand mixer with whisk attachment, add water and meringue powder. Whisk until frothy. Add cream of tartar and vanilla. Whisk briefly to combine. Slowly add powdered sugar and whisk until fully incorporated. The icing should have thick stiff peaks.
- Divide icing between 2 bowls. Keep the surface of the icing covered at all times with a damp paper towel.
- Reserve 1 bowl of this thick icing. If desired, tint it with gel food coloring. Transfer it to a piping bag fitted with a small round pastry tip. I prefer a Wilton #3 (or Wilton #4).
Royal Icing – Flood Consistency
Texture: This consistency is thinner and looser. It’s perfect for frosting cookies. It dries into a hardened, flat, super-smooth surface. Once it dries (about 6 to 8 hours), the cookies can be stacked.
- Stir 1 tablespoon water into the second bowl of icing. Continue adding more water (another 1 to 1 1/2 tablespoons), a little at a time until the consistency is similar to toothpaste.
- Keep the bowl covered with a damp cloth at all times. If desired, tint the icing. Transfer it to a piping bag fitted with a small round metal tip – like a Wilton #3 (or Wilton #4).
Notes
Cookie Decorating Tutorial: See the body of the blog post for helpful instructions on how to use thick and flood-consistency royal icing to decorate sugar cookies.
Important: When the icing is outside of a piping bag, keep the surface of the icing covered with a damp paper towel or a clean (old) cloth at all times.
If royal icing splits: Whisk the icing to restore texture. If it needs to be thinned out a bit, add a touch of water.
Great Option: If desired, you can thin out the entire batch of icing to flood consistency and use it for both borders and flooding. This is ideal if you have just 1 metal tip to work with, or won’t be needing the thicker type icing for adding any super-fine decorating details.
- Prep Time: 5 Minutes
- Cook Time: 0 Minutes
- Category: Desserts
- Method: Mixing
- Cuisine: American

ROYAL ICING > JOIN THE CONVERSATION
Have you ever whisked up a batch of homemade royal icing? What do you think of this quick easy recipe? Share your thoughts in the comments.






So easy. So good. By far the best royal icing recipe. Used it to decorate mini Thanksgiving sugar cookies.
This really is the best royal icing recipe! Very easy to make with the perfect consistency. And it tastes delicious. We used it for decorating Halloween cookies with a group of ladies from church. We liked that after the icing dried we could stack the cookies without ruining the decorations.