DIY Spider Piñata
This post may contain affiliate links. Read full disclosure.
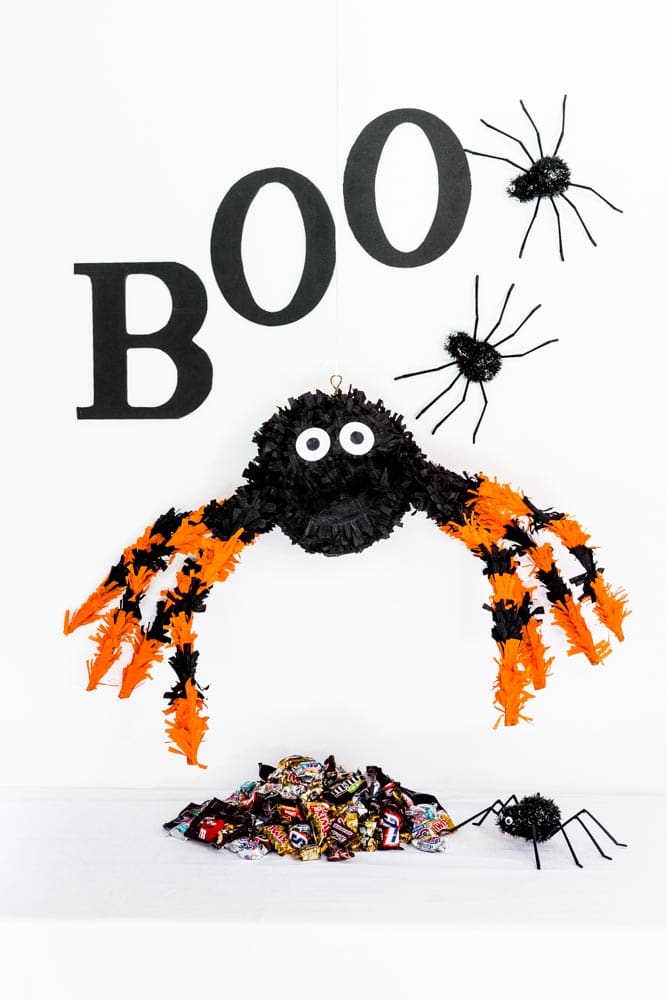
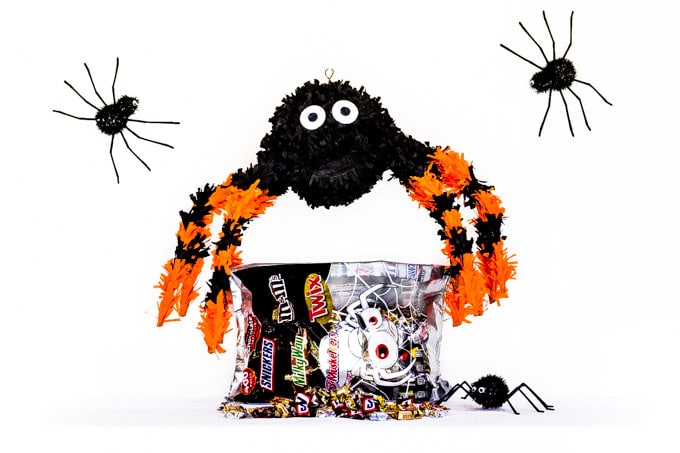
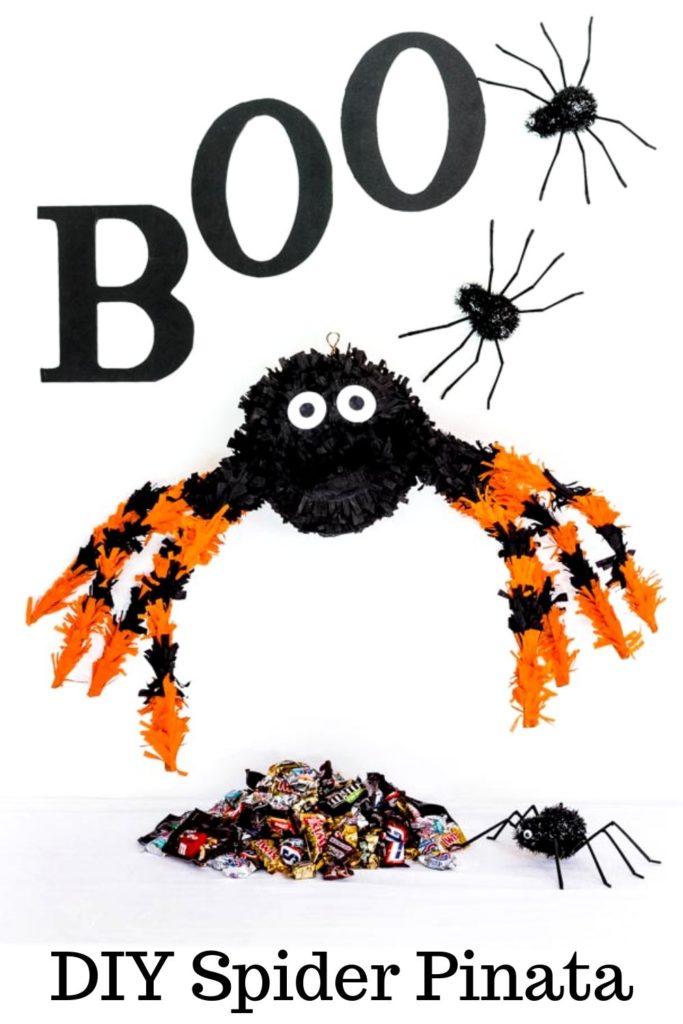
This DIY spider piñata is a must-have for the Halloween season. It’s an ideal decoration for a party, or for use as a children’s Halloween activity. In this post, I’ll show you how to make a piñata with paper mache and fill it with yummy treats or toys for your fall celebration.
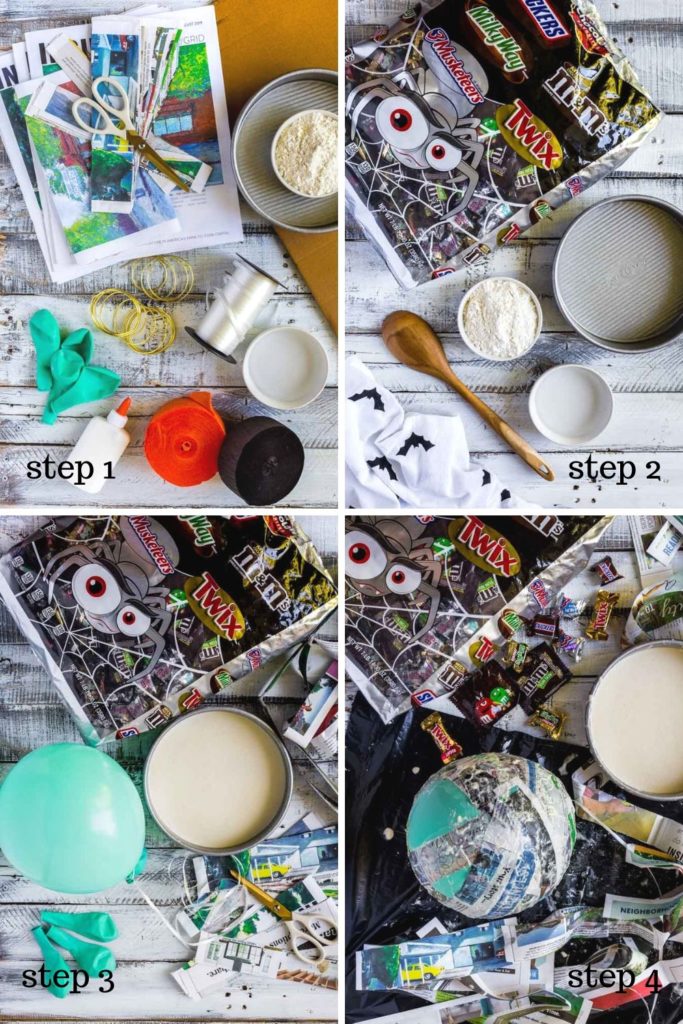
🕷 Materials for Spider Piñata
- 1 XL bag Mars candy: Spooky Mix Chocolate Variety
- 1 black crepe paper streamer: 500 feet x 1.75 inches
- 1 orange crepe paper streamer: 75 feet x 1.75 inches
- 1 pair of scissors
- 1 large balloon
- 2 cups all-purpose flour
- 2.5 cups water
- 1 whole newspaper
- 1 square of cardboard: 3 x 3 inches
- 1 small stick: 2 inches
- 1 thick cardboard: 18 x 18 inches
- 9 18-inch wires (gauge 10 or 12)
- Pliers
- 1 bottle of glue
- 1 sheet of white paper
- 1 piece of black paper (or white paper + a black marker)
- 1 long string
- 1 long thin rope for hanging the pinata
🗞 Make Paper Mache & Spider Body
Are you excited to roll up your sleeves and get started on this DIY Halloween project? Follow these easy step-by-step instructions for how to make a piñata from paper mache.
- Gather materials for the spider pinata. Blow up the balloon to a 9-inch diameter or larger. Attach a string to the balloon. It’s for hanging the paper mache structure while it dries.
- Set aside a wide mixing bowl. Measure the flour and water, but don’t mix anything together just yet!
- Cover your work area with a garbage bag. With scissors, cut the newspaper into strips: (1.5 x 15 inches). Prepare the paper mache paste: combine the water and flour. Stir until smooth. The mixture is easiest to work with right after it’s mixed.
- Dip the newspaper strips into the paper mache paste. Transfer them onto the surface of the balloon. Smooth them out. Continue this process until the entire balloon has been covered with 4-5 layers of paper mache strips. 👉🏻 Important: Apply the strips in different directions to give the piñata structural strength. Hang the piñata to dry for 24 hours.
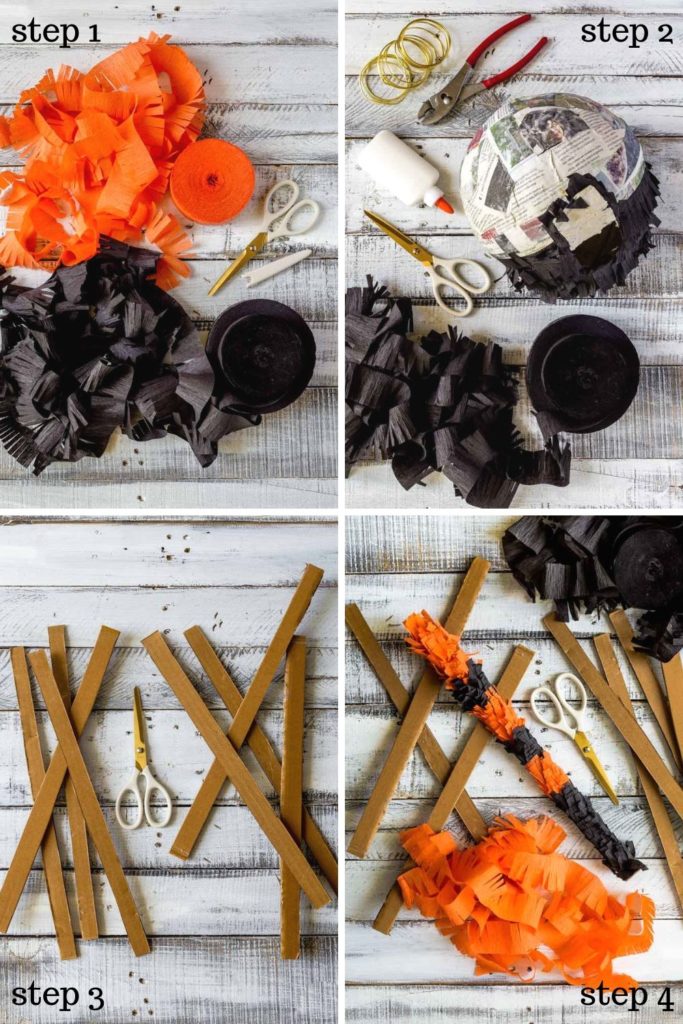
Decorate Spider’s Body & Make the Legs
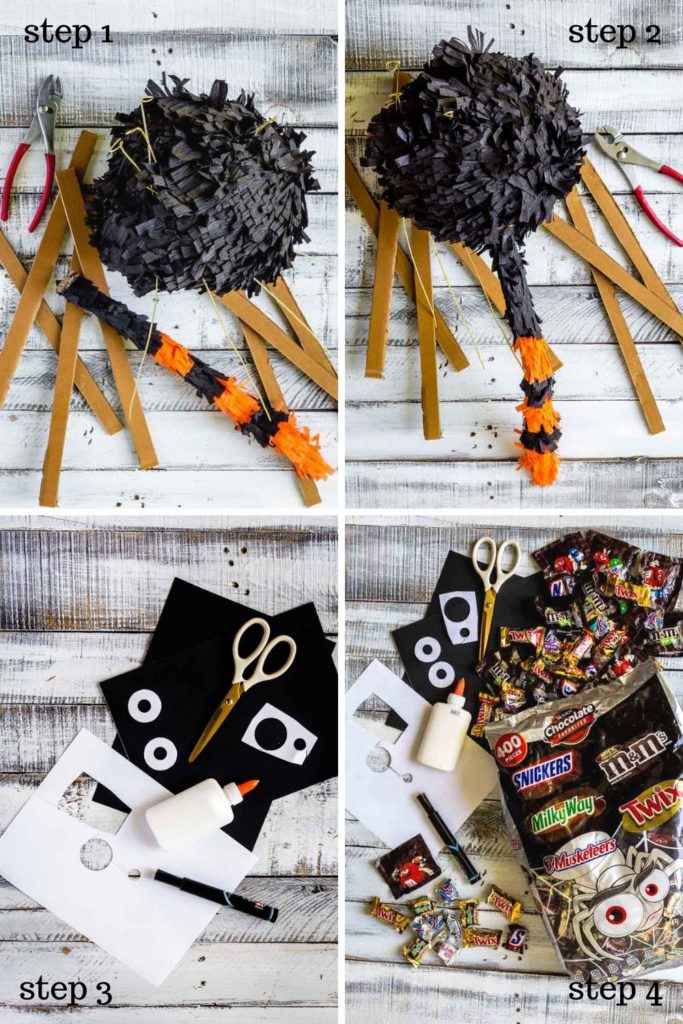
Once the paper mache is dry, cut off the knot on the balloon and string. Decide how the body of the spider will lie. Pierce a wire through the middle of the body, top to bottom. At the bottom pierce the wire through a 3 x 3-inch cardboard. To keep the wire from sliding up, wrap it around a tiny stick. Make a loop at the top for inserting a rope.
- With scissors, fringe cut the black and orange crepe paper streamers.
- Draw a 3-inch x 3-inch square at the top, towards the back of the body. Cut through three sides of the square to create a door for inserting candy into the spider piñata. With glue, attach black fringe-cut streamers to the body. Apply them in a circular pattern with the cut side facing towards the back of the spider. Continue until you get to the front of the spider. For the face, glue garland strips horizontally with the cut side toward the bottom of the piñata.
- Create the spider’s legs. Cut 8 cardboard strips (18 X .75 inches) parallel to the honeycomb structure of the cardboard. Later, this allows wires to be run through the legs.
- Glue black-and-orange fringed streamers onto the legs.
Attach Spider Legs & Eyes
- On each side of the spider, determine where the legs will go. At each location make a small hole with a nail and insert a piece of wire. Push the wire out through the candy door on the upper part of the pinata, but do not push it all the way through. Use pliers to make a loop the size of a wedding ring. Bend it 90 degrees so it’s perpendicular to the wire. Pull the wire back out the bottom until it stops on the loop. Do this for all 8 legs.
- Hang the spider pinata above your work area so there’s no pressure on the legs. Grab one cardboard leg. On the end that will be against the body, peel the cardboard back about 1/2 inch into two layers. These will serve as tabs that will be glued to the body of the spider. Apply glue to one of the long wires. Slide it between the two cardboard tabs on the spider leg. Add glue to the tabs and push the leg all the way in so the tabs with the glue are in full contact with the spider’s body. Through the candy door, insert a wooden spoon to put pressure on the wire from the inside to make sure it goes all the way into the leg. Repeat for the other legs.
- It’s time to create the eyes! Cut out two 2-inch diameter circles from white paper. Cut out two .75-inch diameter circles from black paper. If you don’t have black paper, use a black marker to color in the small circles. Glue the small black circles in the center of the big white circles. Glue the eyes onto the spider’s face.
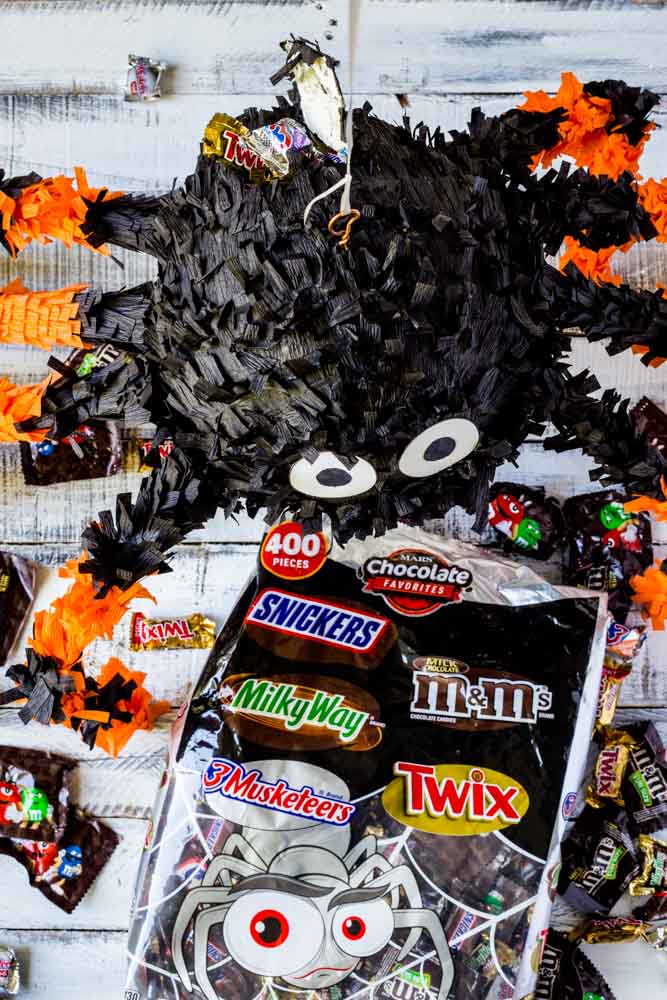
- Now the fun begins! Get ready to stuff the spider piñata with candy.
How to Stuff Spider Pinata with Candy
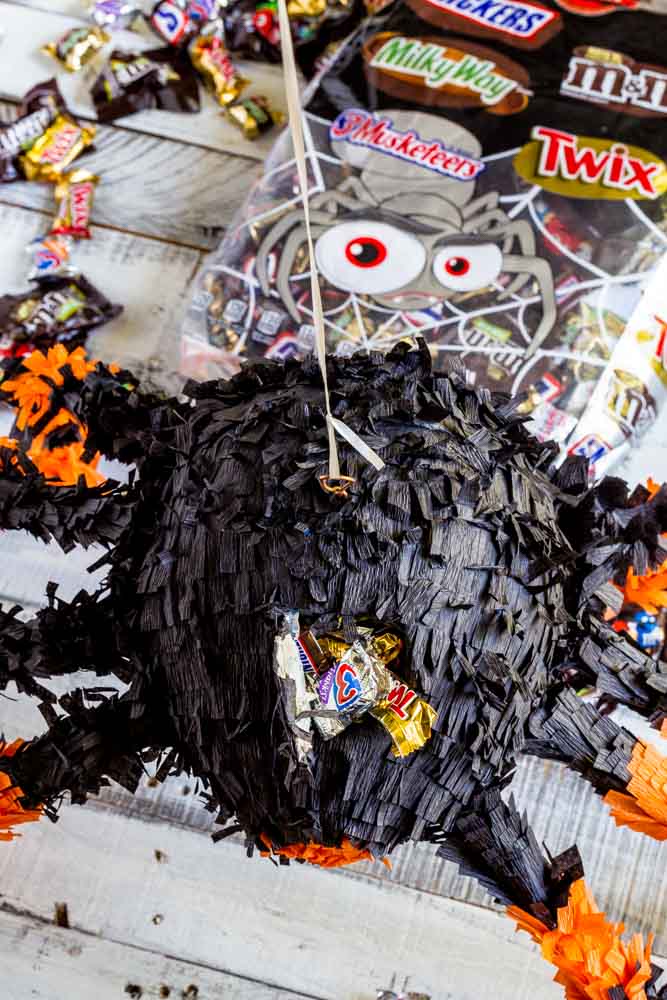
Add candy to the piñata through the small doorway on the back. Once it’s full, close the door and tape it shut. Your spider piñata is now ready to hang and enjoy.
Expert Tips
- Ways to dry to the paper mache: During the summer, hanging the wet paper-mache covered balloon from a tree branch works great. During the winter, it’s best to hang it indoors in a dry warm area.
- How to make a strong piñata: When applying the paper mache, don’t be skimpy! A strong pinata requires 4-5 overlays of paper mache pieces applied in a criss-cross fashion. Keep in mind: the pinata will be heavy when full of candy. Make sure your wire set-up is going to hold that weight.
- How to make a black widow spider: On the under-belly of the spider, add a small ring of orange fringed streamers.
- Remember to fill the piñata: Not remembering to fill the piñata with candy or toys is a very common mistake. An empty piñata is no fun at all. You can save money on large bags of candy at Costco or Sam’s Club. You can buy tiny toys at Walmart, Target or online.
- You can also fill the piñata with tickets that entitle the bearer to a homemade cookie, cupcake, brownie or other treat. The rules can state X amount of tickets equal one treat.
Ways to Use a Spider Piñata
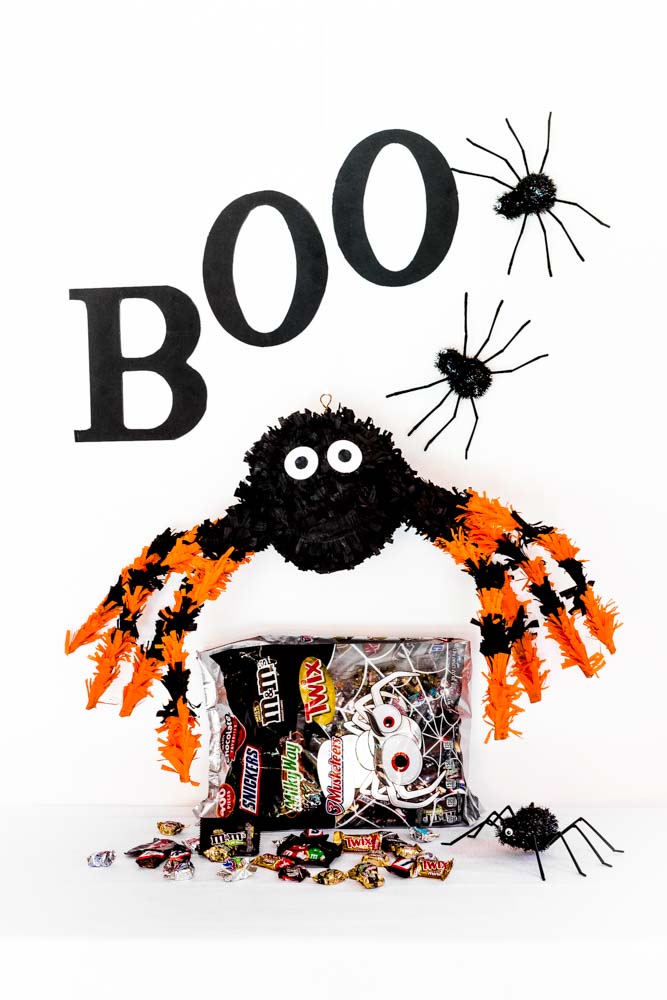
There are so many wonderful occasions to use a spider piñata.
- Make one spider piñata for your family, and a second one for a friend.
- Help your favorite charity. Donate a piñata to a fall silent auction.
- A piñata is ideal for Halloween parties and fall festivals.
- Hang one outside your front door as a Halloween decoration.
- Gift one to your child’s classroom, or a local elementary school.
- It’s an ideal activity for an October birthday.
- Make it a side gig – sell your homemade piñatas on Etsy.
🎃 Halloween Treats for Parties
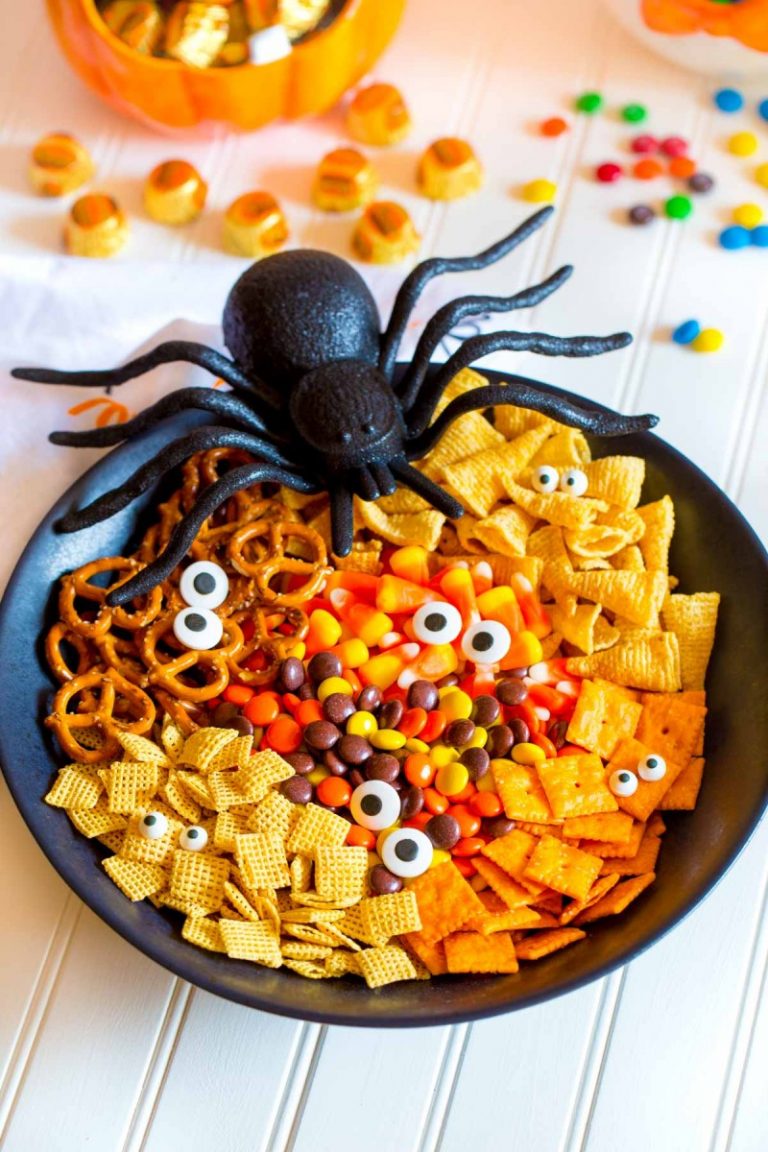
Great food and treats are an important part of any great party! Below are some of our favorites. View the complete collection of seasonal treats in our Halloween category.
- Halloween Rice Krispie Treats – Ghosts and Monsters
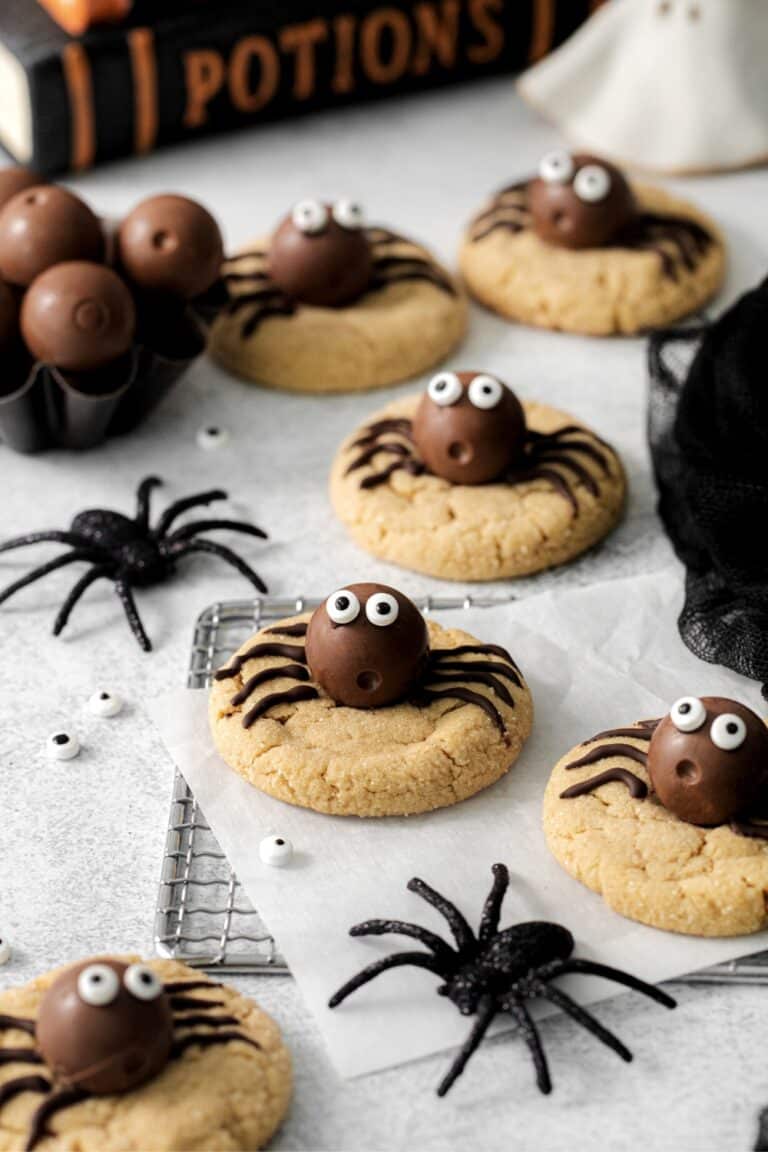
- Peanut Butter Spider Cookies
- Halloween Brownies
- PB & J Spiders
- Spiderweb Chocolate Bark
- Mummy Hot Dogs
- Spiderweb Halloween Cupcakes

DIY Spider Piñata 👉🏻 Join the Conversation
Are you excited to make this spider piñata? Will you use it as a decoration, or for children to break open and run for the candy? Share your thoughts in the comments below. But before you leave – be a hero! Share the joy of this DIY project with friends. 📌 Pin it to Pinterest.





What a great idea! Our twins would love this. I have to send this to my daughter. We’re having a Halloween themed birthday party for them this year!
This spider pinata is the best! So unique and even better is how easy it is to make. Halloween party just got a new kid on the block :D
Love this craft. Makes me wish my kids were young again
How adorable is this spider pinata! Such a great twist for Halloween. I mean, who can resist all of the great candy this time of year. What’s the average # of hits to break it open? xx
This turned out so well. I love making pinatas myself as well. They are so much fun when you do them yourself. I really like the spider one!
My kids love pinatas! I have never tried making one before. I love the one you made, just in time for Halloween. Thanks
Your spider piñata is so cute! This would be a big hit at a party!
How cute is this and creative at that! I have to admit, my kids never celebrated their birthdays with piñata.
How awesome this spider pinata is! The perfect Halloween diy!
I’ve never seen a spooky Pinata before. The concept is very impressive by the way. I really love those chocolates!
Wow, you are so talented. I’ve wasted so much money purchasing pinatas and it never dawned on me to try to create one myself. Thanks for this helpful tutorial.
Congratulations on your DIY! It really depicts a real spider, I am sure the kids will have a lot of fun with this.
I love the spider piñata idea! Perfect for Halloween parties. I really like the color combination as well. Very adorable!
This is really awesome! I had to share on my parent influence FB page because I bet the parents there will adore this idea. Perfect for any Halloween party this year or for me, the middle boy would love it at a bday party!
What a clever Halloween idea. This spider pinata is something that my niece would love for her Halloween party.
Your spider piñata is so adorable. I wish that I hosted a small Halloween party. This would be a perfect addition if I did. I wish that I had the talent to create fun piñatas.
This is the cutest! And I don’t even like spiders. My daughter will want to make one of these for sure.
TOO friggin’ cute and perfect for Halloween!!! I hope you’re throwing a party!