
Description
Bring on the joy with a fresh, homemade vanilla wafer crust! It’s buttery and sweet with the perfect texture. It gives pies and desserts a rustic charm. Assemble this easy recipe in 15 minutes.
Ingredients
- 1 3/4 cups vanilla wafer crumbs, firmly packed (about 62 cookies)
- 1/4 cup granulated sugar
- 8 tablespoons (1 stick) butter, melted
ALSO: Cooking spray for greasing the pan.
INGREDIENT NOTE: One 11-oz (311g) box of Nilla wafer cookies contains 80 to 85 cookies. I grind up the whole box of cookies, then measure out what’s needed. I save the extra crumbs for topping oatmeal, yogurt, and ice cream.
Instructions
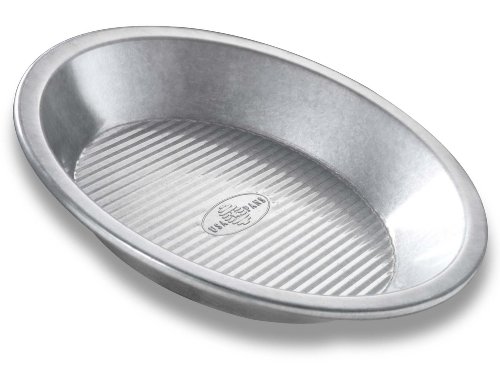
RECIPE PREP: In a heat-safe ramekin, melt the butter. Put it aside to cool. Lightly spray the bottom and sides of the pie pan with a flavorless cooking spray. Do this even if the pan has a non-stick surface. Use a paper towel to evenly distribute the oil. Later, this will help the slices of pie lift out of the dish more easily.
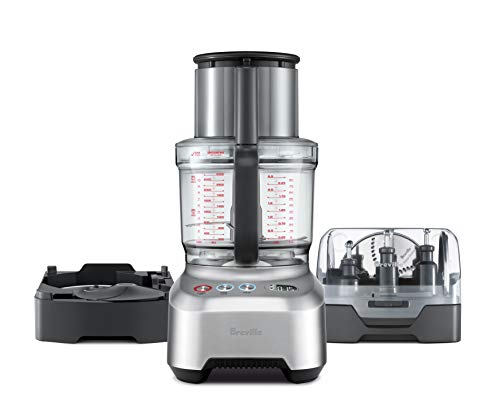
- Add Nilla wafers to the bowl of a food processor. Pulse until the cookies are reduced to fine crumbs. This cookie crushing process takes less than 60 seconds. [No food processor? Use a blender instead. Or put the cookies into a large freezer bag and crush them with the back of a metal measuring cup.]
- Transfer the crumbs to a large bowl. Add granulated sugar. Mix well to combine. Drizzle melted butter over the mixture. Mix until the butter is fully incorporated. Break up any lumps. The texture will be mealy.
- In the prepared pie pan, assemble the sides of the crust. Hold the pan at angle, directly over the mixing bowl. With a combination of a thin spatula and a metal 1/3 measuring cup, press crumb mixture up the sides of the pan. Rotate the pan as you work. The sides of the crust should be firm, compact, and about 1/4 inch thick.
- Add remaining crumb mixture to the pan. Form the bottom of the crust. Pack down the crumbs in a tight even layer. With a fingertip and a thin spatula, compress the top rim of the crust and even it out.
- Transfer the pie pan to the freezer. Chill 35 minutes or until the pie crust has hardened. An alternate method: refrigerate vanilla wafer crust for 1 to 2 hours until sturdy and stable.
For a sturdier crust: Par-bake the crust in a 350°F oven for 7 to 8 minutes, or until light golden blonde. It’ll be sturdier and less crumbly when sliced.


Notes
How to prevent a soggy crust: Freeze or refrigerate vanilla wafer crust until firm. Brush egg wash (1 egg white whisked with 1 tablespoon water) over the cold crust. Dry the crust by baking it in a 350°F oven for 3 to 5 minutes. The dried-on egg creates a protective moisture barrier between the crust and filling. Cool the crust completely before adding the filling.
How to store a vanilla wafer crust: Store an unbaked crust in the fridge (away from odorous foods) up to 3 days, or freeze up to 1 year. For a crust that’s baked, cool it completely. Cover the pie plate with plastic wrap. It can be safely stored on the countertop for up to 3 days, or refrigerated for up to 1 week.
How to slice a crumb-crust dessert: Use a serrated knife. Crumb crusts are rustic and crumbly, whether baked or unbaked. It’s one of their charms. But a serrated knife will make a cleaner cut, resulting in a neater slice.
- Prep Time: 15 Minutes
- Cook Time: 0 Minutes
- Category: Dessert
- Method: No-Bake
- Cuisine: American