Halloween Rice Krispie Treats
This post may contain affiliate links. Read full disclosure.
📌 Pin Halloween Rice Krispies Treats
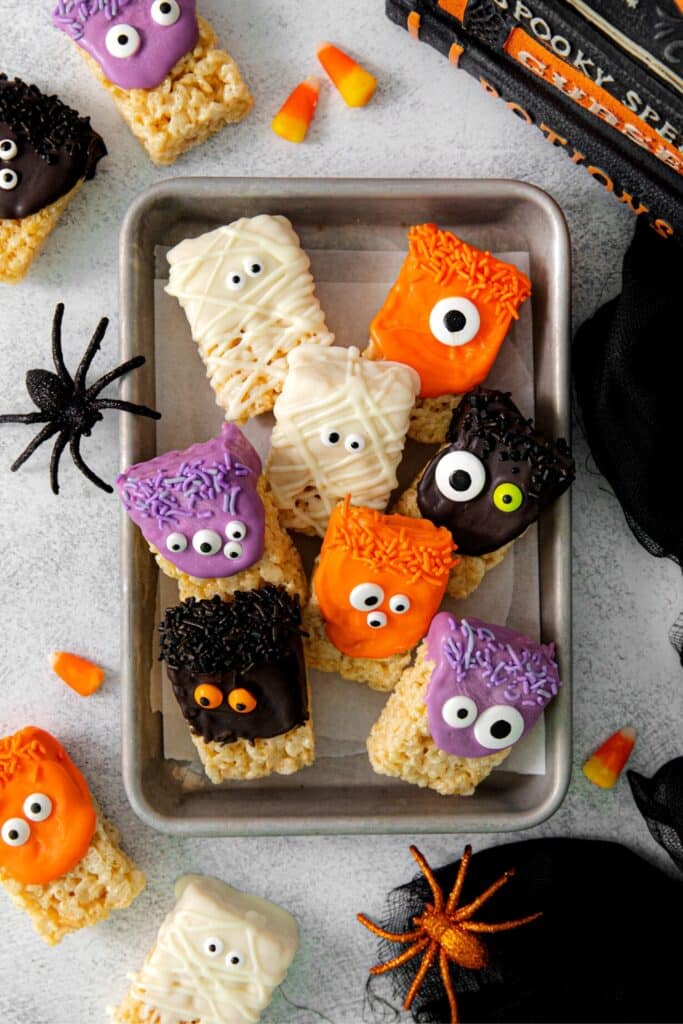
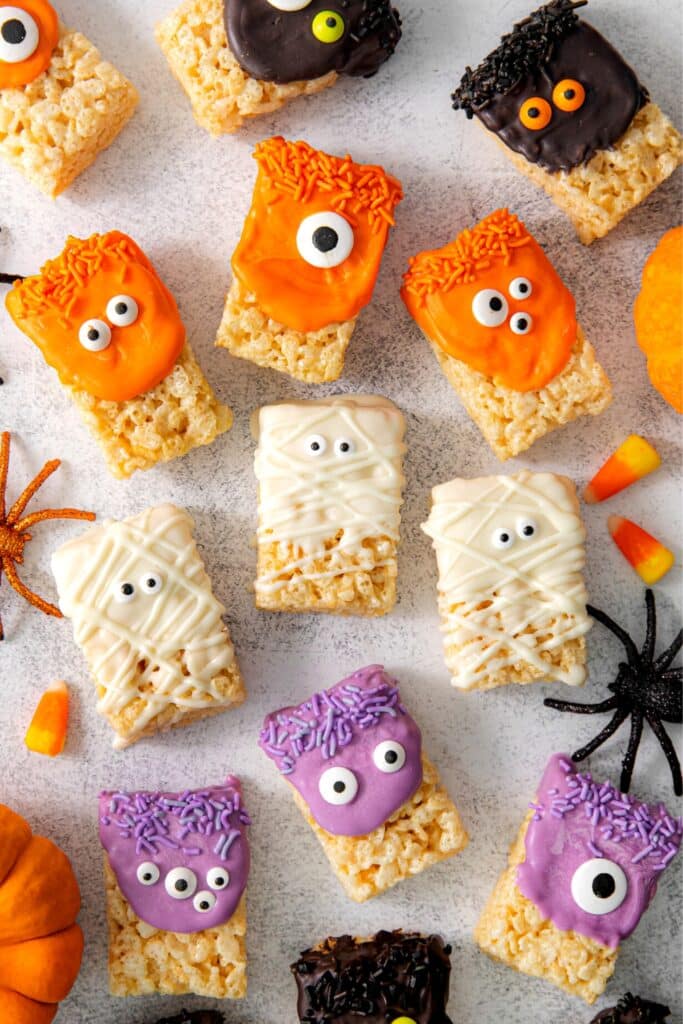
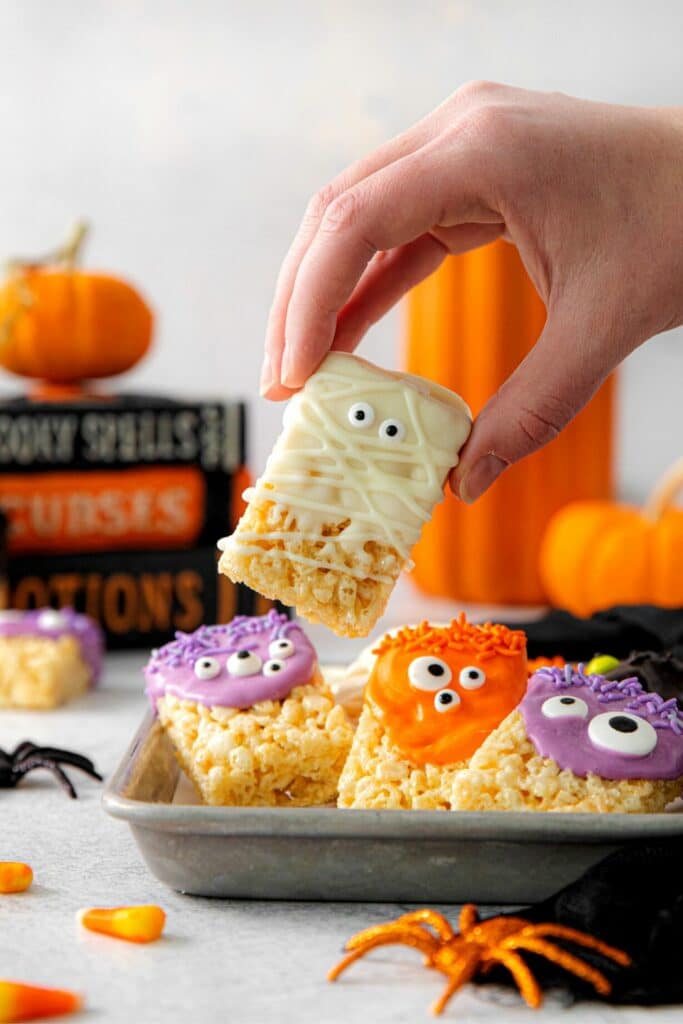
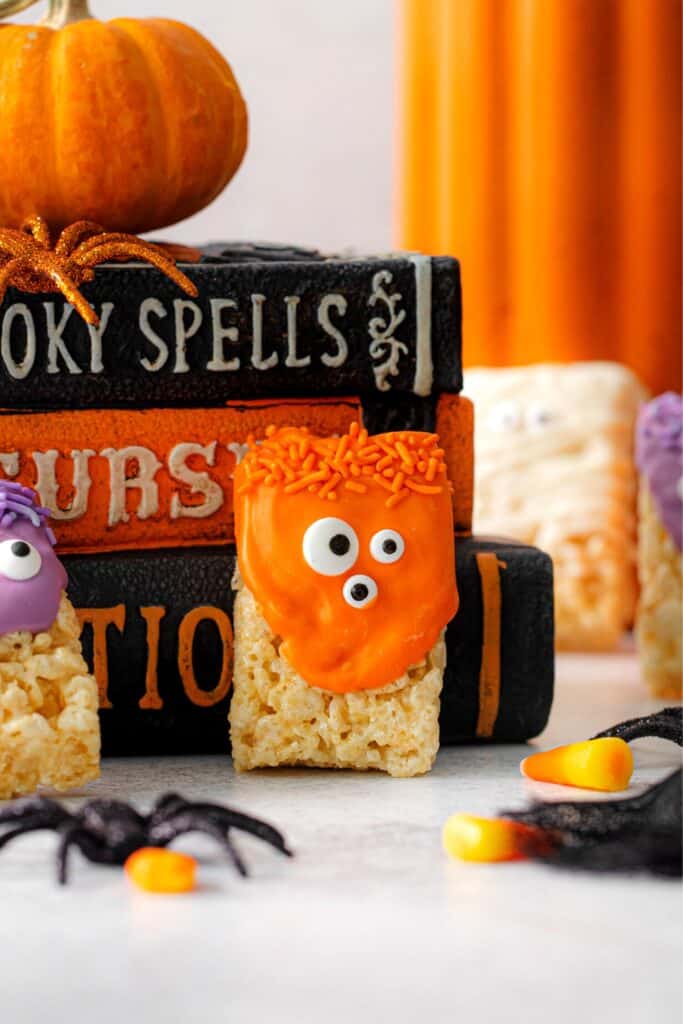
These spooky Halloween Rice Krispie Treats are hair-raising fun! And they’re easy to make. With candy melts, jimmies, and candy eyeballs, we transform a box of snacks into mummy and monster Rice Krispie Treats. These hand-held desserts are a Halloween Party favorite!
🥣 Why You’ll Love This Recipe
- Halloween Rice Krispie Treats are super simple to make. Start with a box of store-bought snacks, or make your own Treats at home with the Original Rice Krispies Treats Recipe.
- They’re perfect for booing the neighbors! They’re also ideal for Halloween parties, classroom parties, movie nights, or as favors at monster-themed birthday parties.
- They can be individually packaged in Halloween treat bags to distribute to neighborhood trick-or-treaters and the adults who look after the ghosts, ghouls and princesses.
- On a dessert table they pair up well with other party treats like Halloween sugar cookies, Halloween Pumpkin Macarons and Halloween spider cookies.
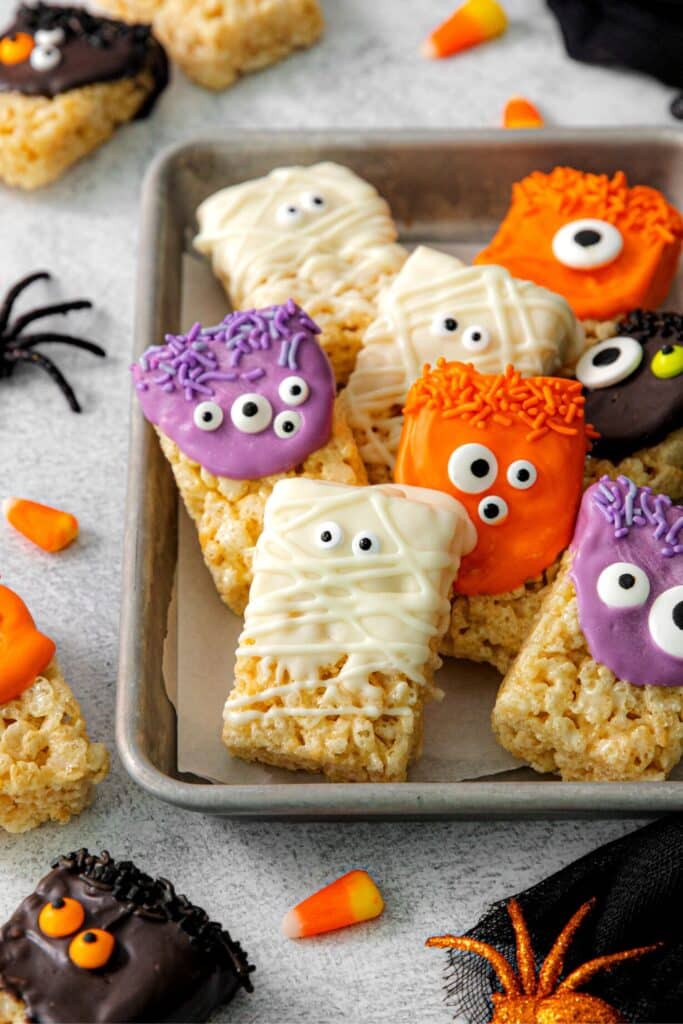
🛒 Ingredients
- Ghirardelli Melting Wafers: White Vanilla-Flavored.
- Wilton Candy Melts: In the colors purple, black and orange. Or if desired, substitute one of them for a different color like bright monster green.
- Vegetable Shortening: I prefer the Crisco brand.
- Rice Krispies Treats: A box of 24 bars (prepared). Or if desired, make them from scratch.
- Assorted Candy Eyeballs: Large and small, in white and Halloween colors.
- Jimmy Sprinkles: In purple, black and orange.
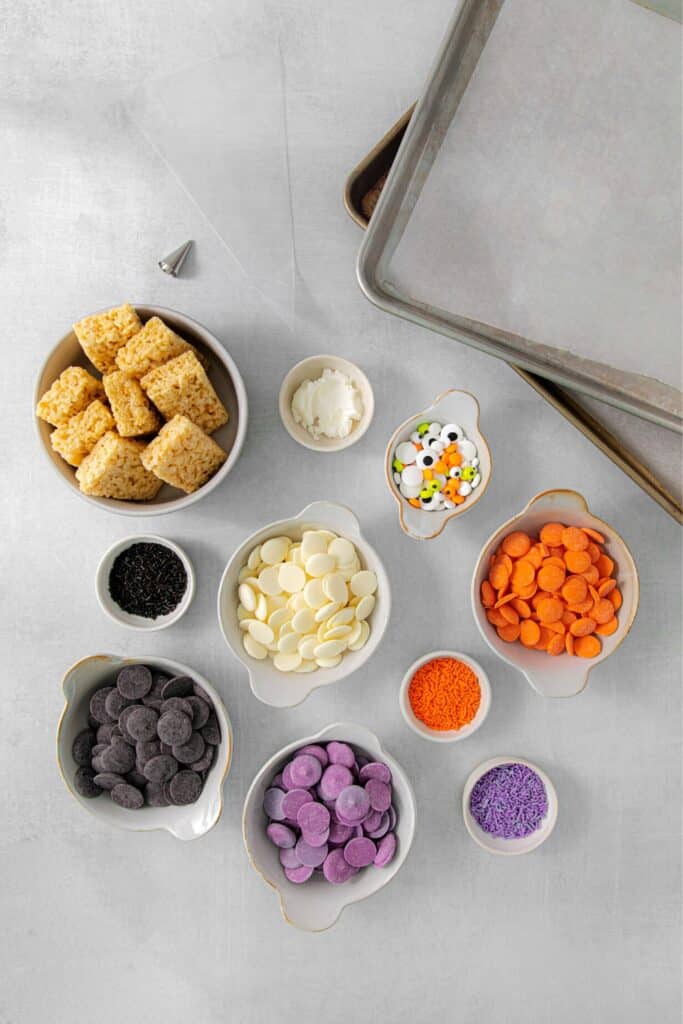
🎃 Other Supplies
- Parchment Paper: For lining the baking trays. It’s perfect for easy clean-up.
- Large Baking Trays: We use these as a work surface. It keeps our kitchen counters clean.
- Piping Bag: For piping white mummy bandages. Or use a zip-top bag with one corner snipped off. (Wait until the bag is filled with icing before snipping off a corner.)
- Decorating Tip: This is optional. But I use a #3 tip for piping the mummy bandages.
- Cooking Tweezers: For placing eyes on the spooky mummy and monster Halloween Rice Krispie Treats. This tool is very helpful. I highly recommend it.
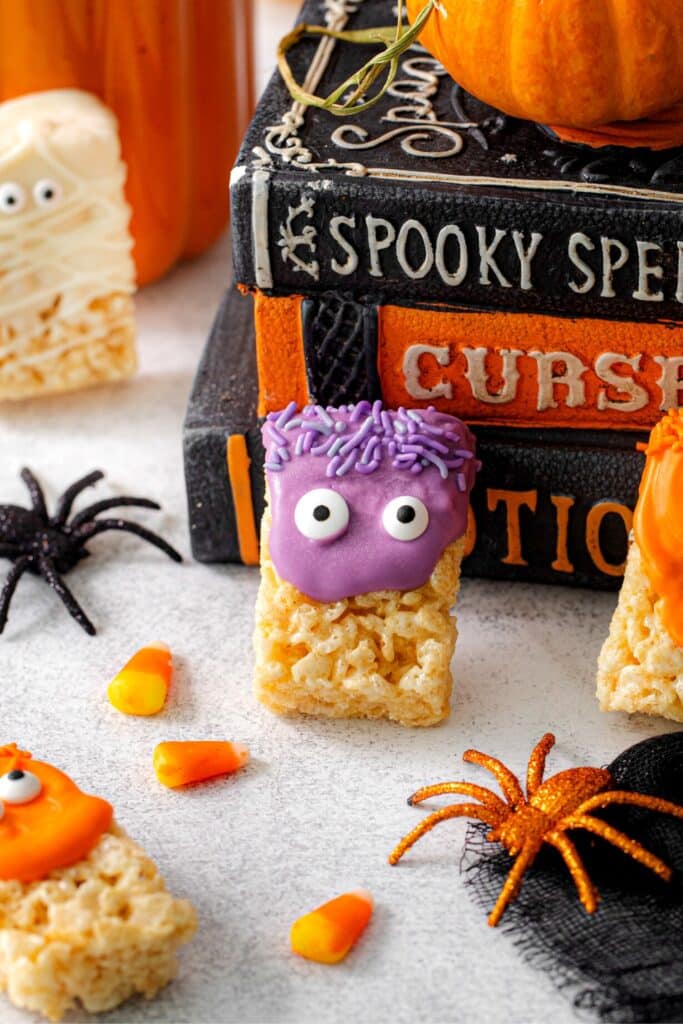
📖 Recipe Steps
👻 Halloween Mummy Rice Krispie Treats
RECIPE PREP: Line a baking tray with parchment paper. Unwrap 6 Rice Krispie Treats. Prep a piping bag with a #3 tip (optional). Or pull out a zip-top bag and a pair of scissors so you can later snip off a corner to make a DIY piping bag for piping on the mummy bandages.
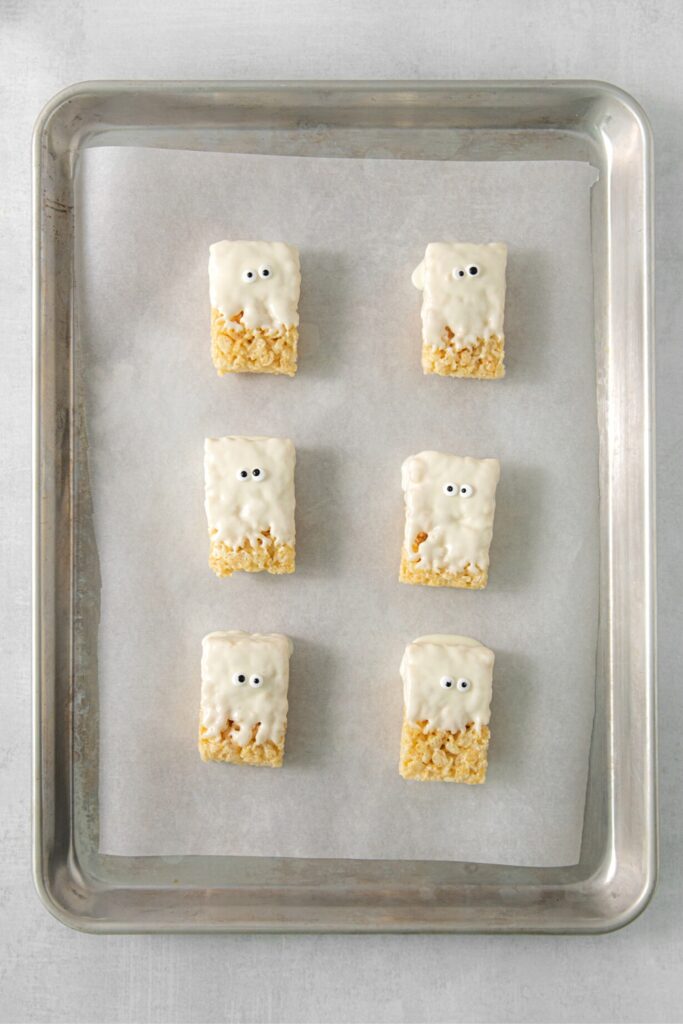
- Add 1/2 bag of white melting wafers to a microwave-safe bowl. Melt according to package instructions. [Note: There may be leftover melted chocolate after you’re done making the mummies. It just depends on how thick the coating is on your Treats.]
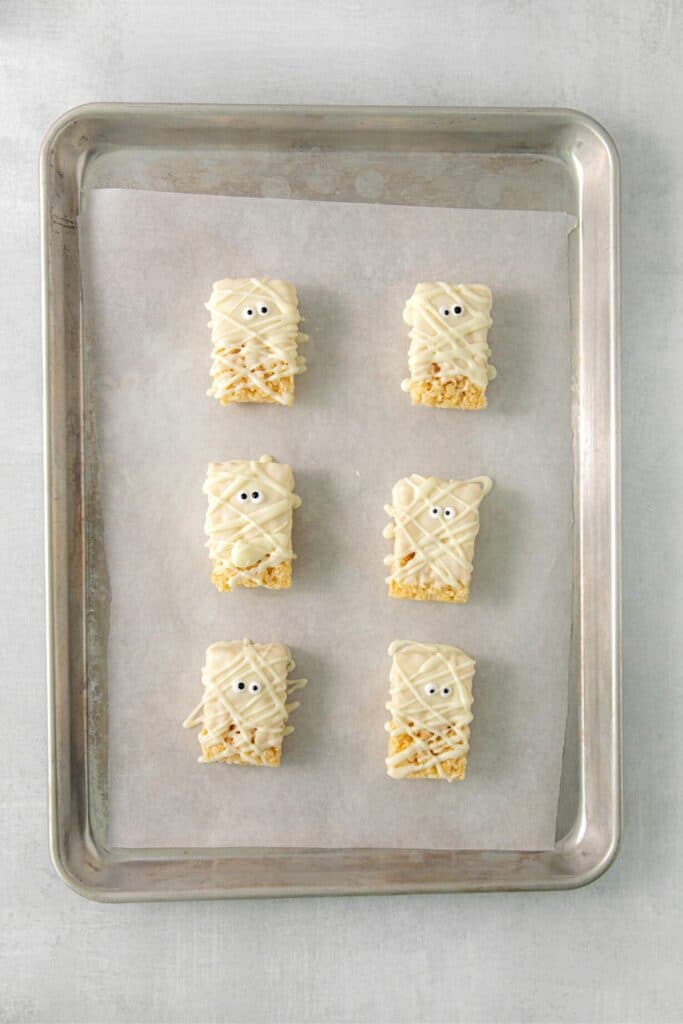
- Spoon melted chocolate over each Treat, covering 4/5 of the Treat so that a small bare border is left along the bottom. Place the Treats on the prepared tray. Quickly add 2 eyes to each mummy before the chocolate has a chance to set.
- Transfer remaining melted chocolate to the prepared piping bag. Pipe drizzles of chocolate diagonally, vertically, and horizontally across the mummies to create the look of bandages. If more chocolate is needed, melt a bit more.
- Let the chocolate set for 20 to 30 minutes.
🧟♂️ Halloween Monster Rice Krispie Treats
RECIPE PREP: Line a large baking tray with parchment paper. Unwrap 18 Rice Krispies Treats. Add jimmy sprinkles (purple, black and orange) to 3 little bowls or ramekins.
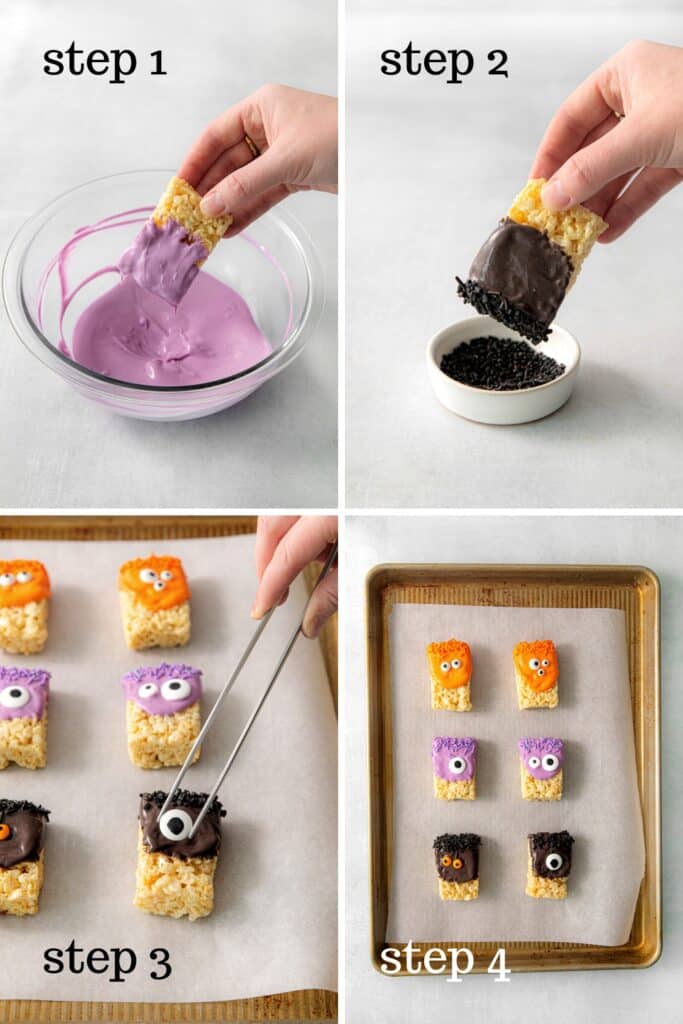
- Add 1/2 bag of each color candy melts to its own microwave-safe bowl. Add 1 teaspoon shortening (for a smoother-looking coating) to each of the 3 bowls. One bowl at a time, microwave in 20-second bursts, stirring well after each session until chocolate is melted and smooth. [Note: There may be melted chocolate leftover for making more Treats.]
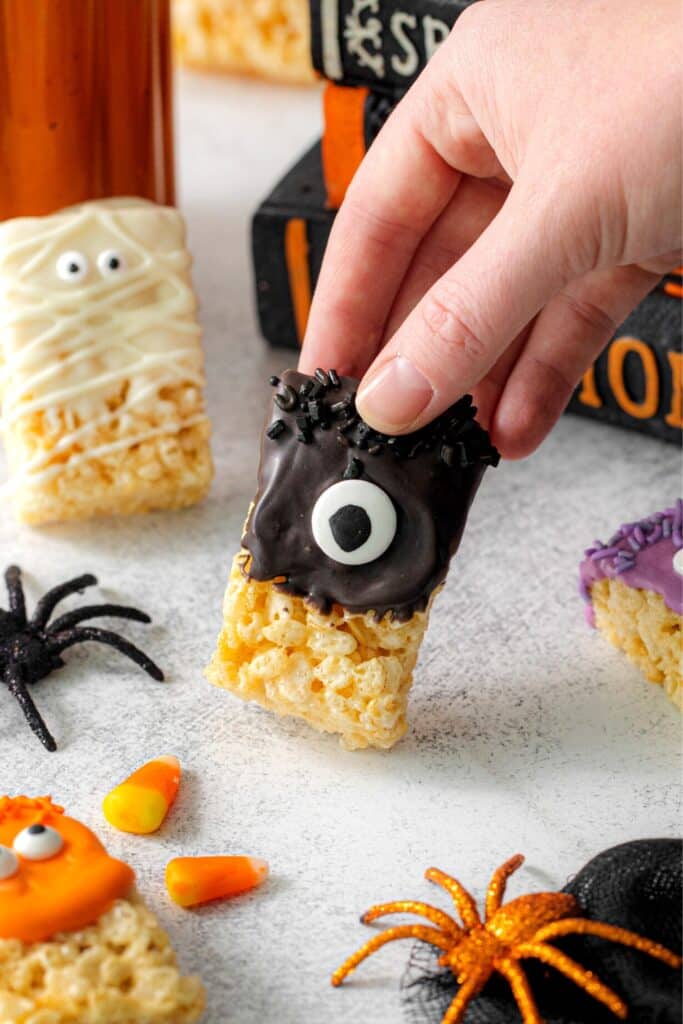
- Working quickly before the chocolate hardens, dip a Rice Krispie Treat into a bowl of melted chocolate. With a spoon, spread the chocolate about 2/3 to 3/4 of the way down the Treat in an uneven way. We’re going for an overall look that’s scruffy, not neat. Immediately dip the top of the Treat into a bowl of jimmy sprinkles for “hair.”
- Place the Treat on the prepared tray. Quickly add 1 to 4 candy eyes to the monster. Make each one different. If you have a pair of cooking tweezers on hand, it will make adding the eyes quick and easy with no messy fingers, and help avoid indents on the smooth surface of the chocolate.
- Continue dipping and decorating until all the Monster Rice Krispie Treats are made. Let the chocolate set completely (about 30 minutes). Treats are best enjoyed the same day.
👩🏻🍳 Recipe FAQ
About 35 Wilton Candy Melts is enough to make 3 or 4 Monster Rice Krispie Treats.
Immediately pour it onto a piece of parchment paper. Do not let it harden in the bowl. We don’t want it to become one large puck that will be very difficult to remove. Slip the chocolate into a zip-top bag and refrigerate for later. Just be aware that there may be contaminants or crumbs mixed into it from dipping treats. These contaminants will affect the texture of the chocolate when it’s being remelted for another project.
Remove it from the fridge and break it into pieces. Add the pieces to a batch of cookies or scones. Or use the pieces to top ice cream, yogurt or your favorite desserts.
Pop the tray of Halloween Treats into the fridge for 20 minutes, or until set.
After the candy coating has hardened, individually wrap each treat in parchment paper. Then put them inside an airtight container, or slip them into a zip-top bag. They’ll stay fresh for up to 3 days. For longer storage, freeze for up to 1 month.
🧑🏼🍳 Expert Tips
- When getting ready to melt chocolate, it’s important that all kitchen tools that will come in contact with chocolate (bowls, spoons, etc.) are completely grease free / water free.
- Wipe down clean kitchen tools with a lint-free cloth and lemon juice to make sure they are completely free of any specks of grease. Then make sure they’re bone dry before using them to melt chocolate so the chocolate doesn’t seize.
- If your melted chocolate is too thick, you can thin it out with a little bit of vegetable shortening. Stir it into the melted chocolate until completely incorporated.
- If excess chocolate coating forms in a puddle around the Treat (while it’s on the parchment paper), wait until the chocolate sets. Then just cut off or snap off the piece. Use a clean warm fingertip to smooth out the rough edge.
- Recipe Variations: Make Halloween Treat Pops by sticking a paper straw or popsicle stick into the bottom of each Halloween Rice Krispie Treat before applying the candy coating.
🕷More Halloween Treats
Get your dessert table ready for Halloween with these popular desserts (listed below). For more party eats and drinks, be sure to view our spooky collection of Halloween recipes.
- Witch Finger Cookies
- Candy Corn Cupcakes
- Halloween Brownies
- Mummy Hot Cocoa Bombs
- Candy Corn Jello Cups
- Green Popcorn Slime
Rate This Recipe ⭐️⭐️⭐️⭐️⭐️
Flavor testers rated these the best Halloween Rice Krispie Treats. They loved the look of these adorable yet spooky mummies and monsters. Their vibrant colors and bakery-quality decorations made them simply amazing. They greatly enjoyed their delicious taste.
If you agree this recipe’s a keeper, give it a 5-star rating in the comments. Then be a recipe hero. Share it with friends. 📌 Pin it to Pinterest.


Halloween Rice Krispie Treats
- Total Time: 35 Minutes
- Yield: 24 Treats 1x
Description
These spooky Halloween Rice Krispie Treats are hair-raising fun! When these mummies and monsters arrive at the party, all the Halloween ghosts and ghouls will rush to snag one. I highly recommend that you make 2 batches.
Ingredients
Halloween Mummies & Monsters
- 1 (10-ounce) bag Ghirardelli white vanilla-flavored melting wafers
- 3 (12-ounce) bags Wilton Candy Melts, 1 each – orange, purple, black
- 3 teaspoons vegetable shortening, divided
- 1 box (24-pack bars, prepared) Rice Krispies Treats
- 60 assorted candy eyeballs (large and small), in white and Halloween colors
- Jimmy sprinkles – orange, purple and black
Recipe Supplies
- Parchment paper
- 2 large baking trays
- 1 piping bag (for mummy bandages) or zip-top bag
- Decorating tip #3 (optional)
- Cooking Tweezers (optional)
Instructions
Mummy Rice Krispie Treats
RECIPE PREP: Line a baking tray with parchment paper. Unwrap 6 Rice Krispie Treats. Prep a piping bag with a #3 tip (optional). Or pull out a zip-top bag and pair of scissors (to later snip off a corner) to make a DIY piping bag for the mummy bandages.
- Add 1/2 bag of white melting wafers to a microwave-safe bowl. Melt according to package instructions. [Note: There may be leftover melted chocolate after you’re done. It just depends on how thick the coating is on your Treats.]
- Spoon melted chocolate over each Treat, covering 4/5 of the Treat so that a small bare border is left along the bottom. Place the Treats on the prepared tray. Quickly add 2 eyes to each mummy before the chocolate has a chance to set.
- Transfer remaining melted chocolate to the prepared piping bag. Pipe drizzles of chocolate diagonally, vertically, and horizontally across the mummies to create the look of bandages. If more chocolate is needed, melt a bit more.
- Let the chocolate set for 20 to 30 minutes.
Monster Rice Krispie Treats
RECIPE PREP: Line a large baking tray with parchment paper. Unwrap 18 Rice Krispies Treats. Add jimmy sprinkles (purple, black and orange) to 3 little bowls or ramekins.
- Add 1/2 bag of each color candy melts to its own microwave-safe bowl. Add 1 teaspoon shortening (for a smoother-looking coating) to each of the 3 bowls. One bowl at a time, microwave in 20-second bursts, stirring well after each session until chocolate is melted and smooth. [Note: There may be melted chocolate leftover for making more Treats.]
- Working quickly before the chocolate hardens, dip a Rice Krispie Treat into a bowl of melted chocolate. With a spoon, spread the chocolate about 2/3 to 3/4 of the way down the Treat in an uneven way. We’re going for an overall look that’s scruffy, not neat. Immediately dip the top of the Treat into a bowl of jimmy sprinkles for “hair.”
- Place the Treat on the prepared tray. Quickly add 1 to 4 candy eyes to the monster. Make each one different. If you have cooking tweezers on hand, it will make adding the eyes quick and easy with no messy fingers, and help avoid indents on the smooth surface of the chocolate.
- Continue dipping and decorating until all the Monster Rice Krispie Treats are made. Let the chocolate set completely (about 30 minutes).
Notes
How to store Halloween Rice Krispie Treats: After the candy coating has hardened, individually wrap each treat in parchment paper. Then put them inside an airtight container, or slip them into a zip-top bag. They’ll stay fresh for up to 3 days. For longer storage, freeze for up to 1 month.
- Prep Time: 35 Minutes
- Cook Time: 0 Minutes
- Category: Halloween
- Method: Decorate
- Cuisine: American

Halloween Rice Krispie Treats 👉🏻 Join the Convo
Are you excited to make these Monsters and Mummies? Will you take them to a Halloween party or boo neighbors and friends? Share your thoughts on these spooky desserts in the comments below. I’d love to hear from you.


