Halloween Hot Cocoa Bombs
This post may contain affiliate links. Read full disclosure.
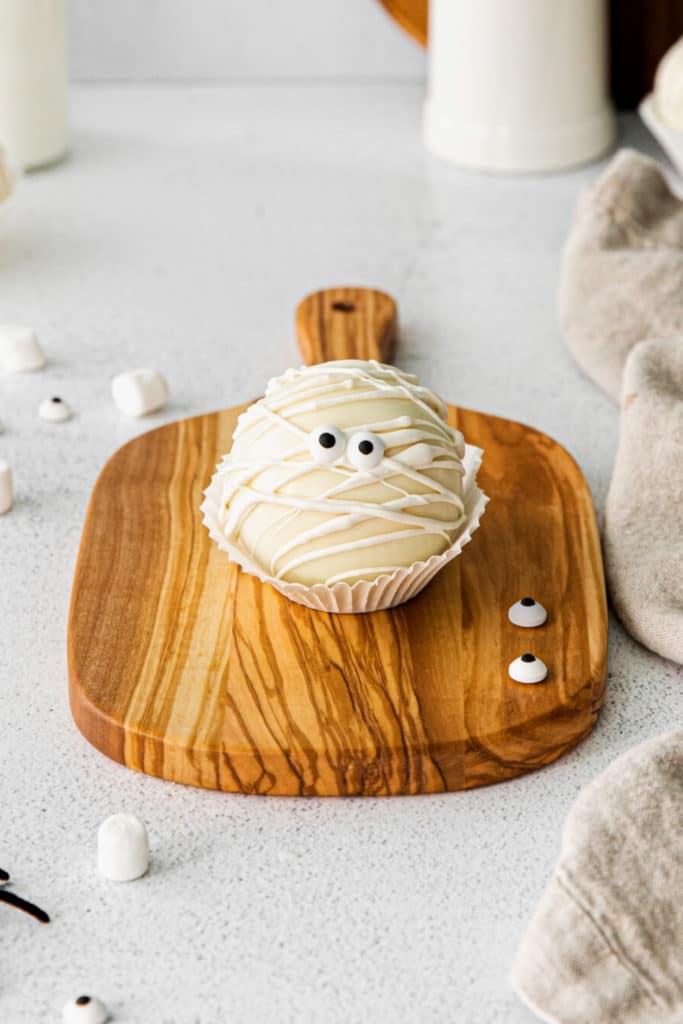
These Halloween hot cocoa bombs are little white mummies with candy eyes. They’re filled with scoops of joy: a DIY hot cocoa mix plus mini marshmallows. They’re fun treats for ghosts and ghouls of all ages.
📌 PIN HALLOWEEN HOT COCOA BOMBS
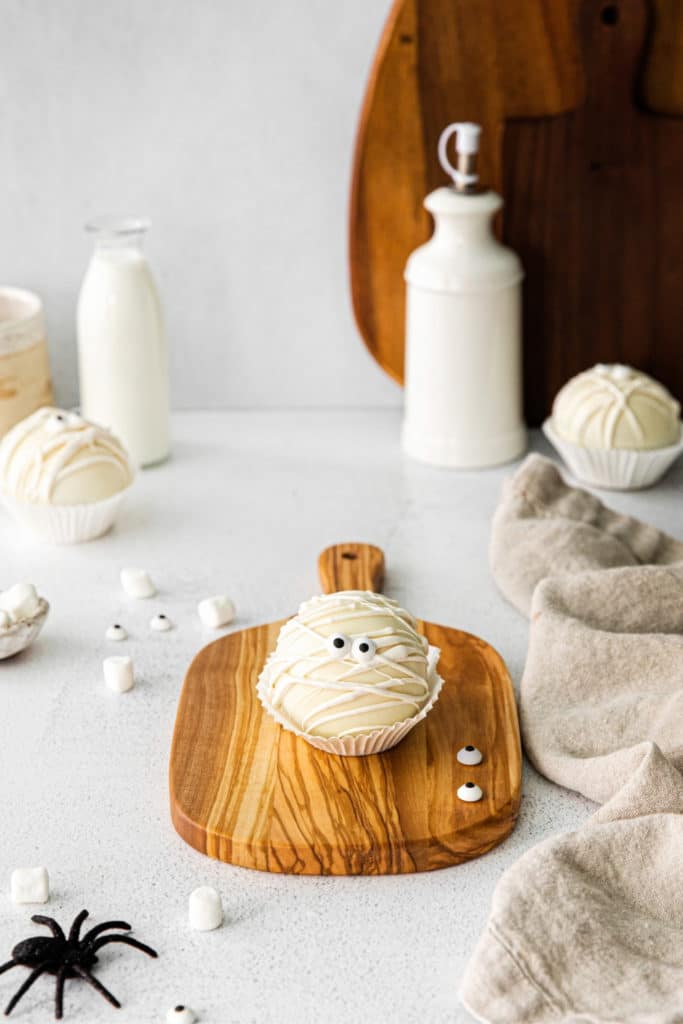
One batch of these special treats may not be enough! I recommend making 2 or more batches during the Halloween season. Just like peppermint hot cocoa bombs, these treats tend to disappear as soon as they’re made.
Enjoy these little mummies while watching a scary movie. Take them camping for making hot chocolate around the fire.
Mummy hot cocoa bombs are perfect for Halloween parties. On October 31st, end a long night of trick or treating with a hot chocolate bomb in a mug of warm milk. The perfect end to a magical day.
Halloween hot cocoa bombs also make fun festive gifts. Place these small treats in cellophane bags and close with a string. If desired, gift them along with a special mug to enjoy them in. Your kindness will be remembered!
🛒 INGREDIENTS
These easy DIY hot chocolate bombs are easy to assemble with a few pantry staples. You might not even need to head to the market to pick up supplies!
DIY HOT CHOCOLATE POWDER MIX
If preferred, you can use store-bought hot cocoa mix instead of the first 3 ingredients of the DIY mix (powdered sugar, cocoa powder and solid bar of white chocolate). It’s convenient to use ingredients you already have.
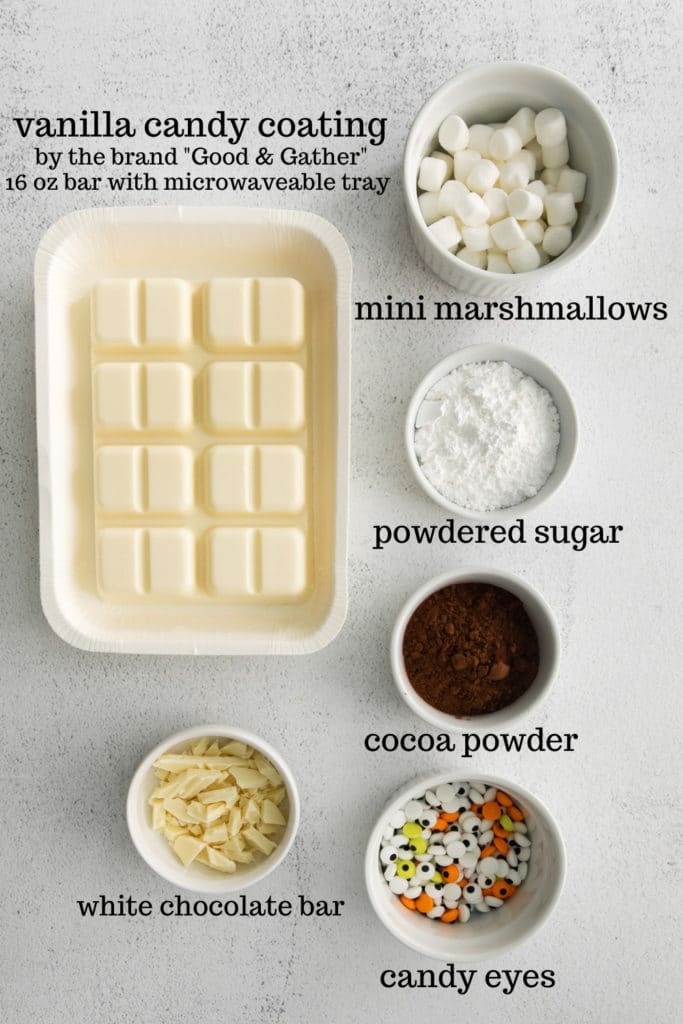
- Powdered sugar
- Cocoa powder
- Baking bar of white chocolate (like Ghirardelli)
- Mini marshmallows
HOT COCOA BOMB INGREDIENTS
- Vanilla candy coating
- DIY hot chocolate powder mix (above)
- Candy eyes
FOR ENJOYING HOT COCOA BOMBS
- Whole milk (for a creamy texture with good mouthfeel)
🧑🏼🍳 SUPPLIES FOR HOT COCOA BOMBS
To make hot chocolate bombs you’ll need the following supplies.
- Silicone Cocoa Bomb Molds (2 1/2-inch)
- Mini Baking Tray (use as a work station)
- Cake Decorating Brush or small spoon
- Food Prep Gloves
- Small Skillet
📖 RECIPE STEPS
RECIPE PREP: Wash 2 silicone molds with warm soapy water. Dry with a lint-free cloth. Any speck or residue on the molds will cause blemishes on the candy. For beautiful hot chocolate bombs the molds must be very clean.
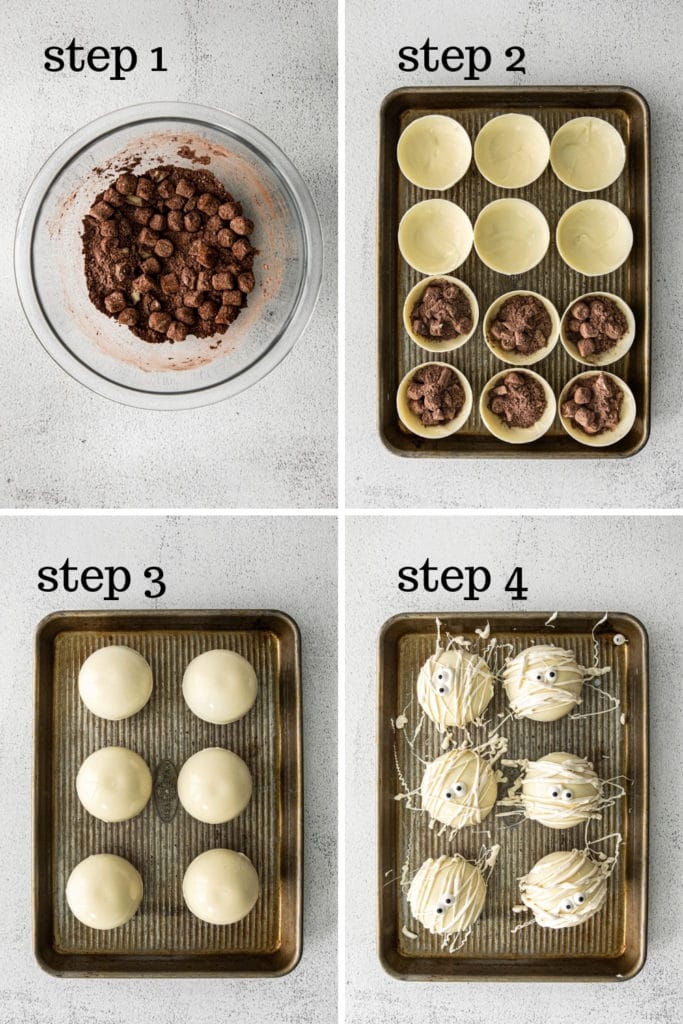
It’s super easy to make a DIY batch of mummy hot cocoa bombs for Halloween. Just follow these 4 easy steps.
- STEP 1: Assemble DIY hot chocolate powder mix. In a small bowl, add powdered sugar, cocoa powder, chopped white chocolate. Mix well. Add mini marshmallows to the bowl. Toss until combined.
- STEP 2: Melt vanilla candy coating according to package directions. Add 2 tablespoons melted candy to 12 wells of silicone molds. Reserve leftover candy coating for later. With a pastry brush or spoon, “paint” chocolate thickly and evenly over each mold. Transfer to fridge to set (about 10 minutes.) Carefully remove “bowls” from molds. Transfer to mini baking tray. Fill each of 6 bowls with 2 tablespoons DIY cocoa mix.
- STEP 3: Heat a small skillet over medium-low heat until just warm. Work with one empty chocolate bowl at a time. Put open side down on the warm skillet very briefly, about 1 to 2 seconds, to lightly melt the edges. Immediately remove from skillet. Place the empty bowl on top of a bowl filled with cocoa mix. Gently press the 2 pieces together to seal.
- STEP 4: Remelt the leftover vanilla candy coating. Transfer to a plastic bag. With scissors, slice off a small piece of one corner. Drizzle melted white candy over the filled hot chocolate bombs. While the drizzle is still wet, attach 2 candy eyes to front or top of each. Stick the tray of cocoa bombs into the fridge to set.
HOW TO ACTIVATE HOT CHOCOLATE BOMBS
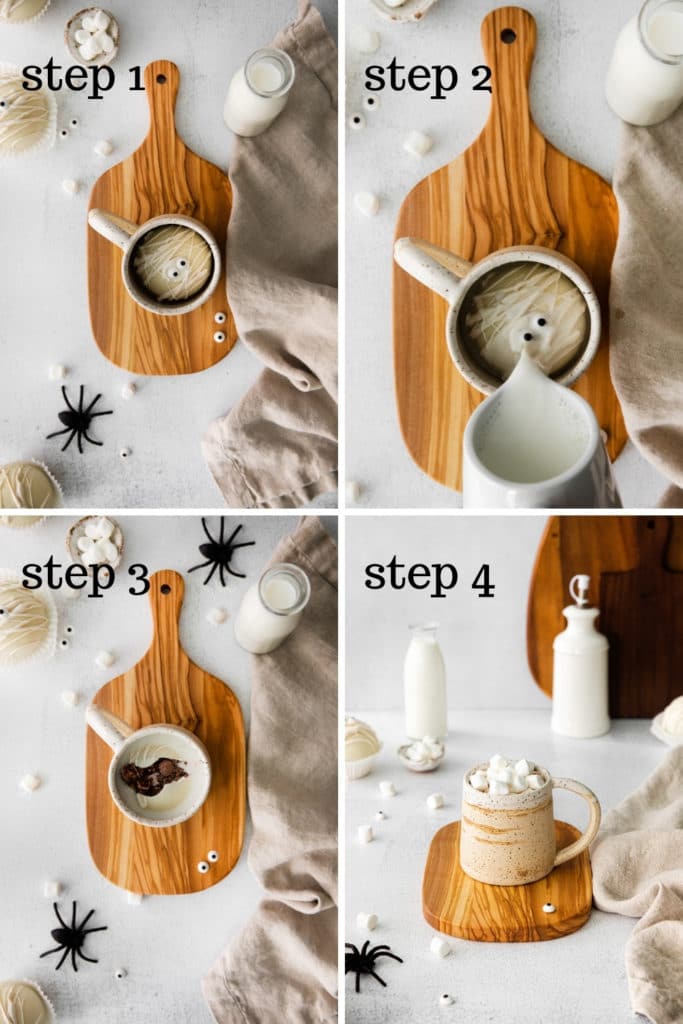
- STEP 1: Place hot cocoa bomb in an empty mug.
- STEP 2: Pour warm whole milk on top of the treat. You can use hot water instead, but your beverage will not be as thick and luscious.
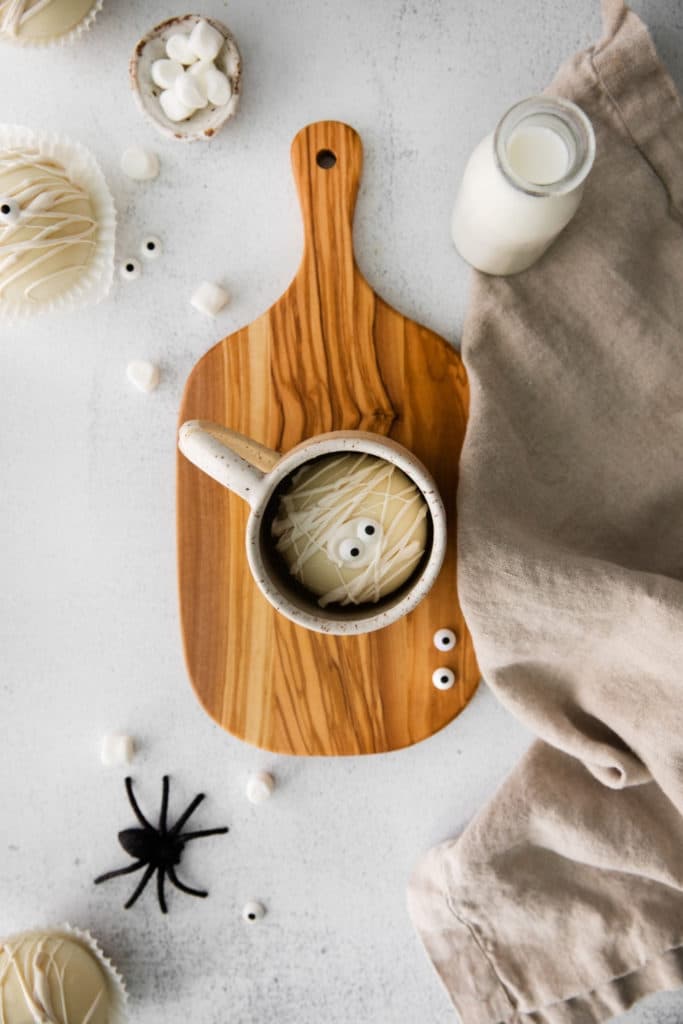
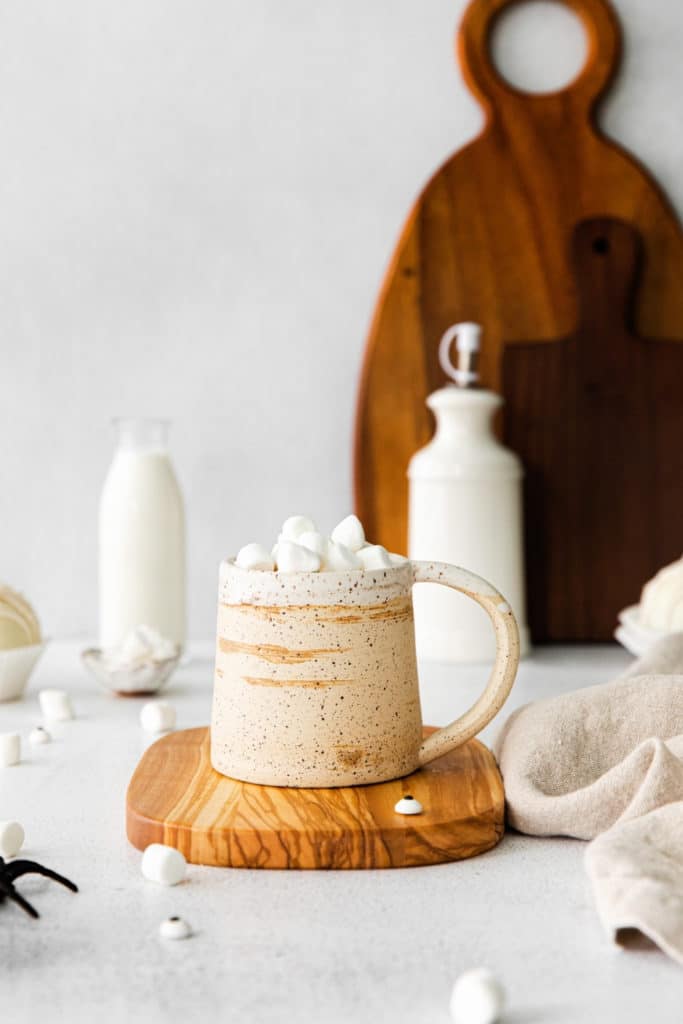
- STEP 3: Watch the magic unfold in your cup. As the warm liquid melts away the outer coating of the Halloween hot chocolate bomb, the tasty contents are revealed. What a treat!
- STEP 4: Stir with a spoon to make hot chocolate. If desired, top with additional marshmallows or whipped cream. For a more chocolatey experience, drizzle chocolate syrup on bottom and sides of the mug before adding the cocoa bomb, and again before adding other toppings.
👩🏻🍳 RECIPE FAQ
These are the most commonly asked questions about DIY Halloween hot cocoa bombs, and the most helpful answers for recipe success!
Find this product at any major grocery store or online. It’s also known as: vanilla-flavored almond bark, white chocolate bark, white candy melts, vanilla-flavored candy wafers. The specific type of vanilla candy coating I used here is by Good & Gather, a Target store in-house brand.
Look for them at major grocery stores. They’re usually in the baking section with the birthday candles, candy sprinkles and small tubes of frosting. In superstores, they’re often located in the cake decorating aisle. You can also find them at craft stores and online. In a pinch, use mini chocolate chips for eyes.
Make homemade powdered sugar. Process granulated sugar in a food processor or blender until light and powdery.
It’s the ingredient of choice for white cocoa bombs because unlike a solid white chocolate bar, it doesn’t need to be tempered. (If using white chocolate, it must be tempered!) Also, vanilla candy coating is much easier to work with. It melts and sets smoothly.
When handling hot cocoa bombs, use disposable food service gloves.
Hot cocoa bombs are used to make hot chocolate an exciting visual experience! Place a hot cocoa bomb inside a drinking mug. Pour steaming milk or hot (but not boiling) water over the top to activate. As the candy coating melts, the cocoa powder and marshmallows stuffed inside are revealed. Smile, stir, and enjoy.
Store cocoa bombs in an airtight container. Keep refrigerated. They’ll stay fresh for up to 1 week.
👻 HALLOWEEN SNACKS AND TREATS
If you loved these mummy hot chocolate bombs, you’ll also love these spooky Halloween snacks and treats. Each recipe is kid-friendly and easy to make. Add these time-tested favorites to your recipe arsenal!
- HALLOWEEN MUDDY BUDDIES
- SPIDERWEB HALLOWEEN CUPCAKES
- MUMMY HOT DOGS
- SPIDERWEB CHOCOLATE BARK
- GREEN POPCORN SLIME
- PB AND J SPIDERS
RATE THIS RECIPE ⭐️⭐️⭐️⭐️
Family and friends of all ages have raved about these super-fun Halloween hot cocoa bombs! They’re now being requested every year.
If you too loved these easy DIY hot chocolate bombs, give it a 5-star rating in the comments. Then be a recipe hero. Share it with a friend!

HALLOWEEN HOT COCOA BOMBS
- Total Time: 30 Minutes
- Yield: 6 Servings 1x
Description
Ready for a cup of hot cocoa? Make the moment a fun visual experience with a Halloween hot cocoa bomb! They’re quick and easy to make. Perfect for Halloween parties and all season long.
Ingredients
DIY HOT CHOCOLATE POWDER MIX
- 1/4 cup powdered sugar
- 2 tablespoons cocoa powder
- 1/4 cup white chocolate, chopped (from a solid baking bar like Ghirardelli)
- 1/2 cup mini marshmallows
HOT COCOA BOMB INGREDIENTS
- DIY Hot chocolate powder mix (above)
- 16 ounces vanilla candy coating*
- Candy eyes
*WHERE TO FIND VANILLA CANDY COATING: Find this product at any major grocery store or online. It’s also known as: vanilla-flavored almond bark, white chocolate bark, white candy melts, vanilla-flavored candy wafers. The type I used here is Vanilla Candy Coating by Good & Gather, a Target store in-house brand.
Instructions
RECIPE PREP: Wash 2 silicone molds with warm soapy water. Dry with a lint-free cloth. Any speck or residue on the molds will cause blemishes on the candy. For beautiful hot chocolate bombs the molds must be very clean.
- Assemble DIY hot chocolate powder mix. In a small bowl, add powdered sugar, cocoa powder, chopped white chocolate. Mix well. Add mini marshmallows to the bowl. Toss until combined.
- Melt vanilla candy coating according to package directions. Add 2 tablespoons melted candy to 12 wells of silicone molds. Reserve leftover candy coating for later. With a pastry brush or spoon, “paint” chocolate thickly and evenly over each mold. Transfer to fridge to set (about 10 minutes.)
- Carefully remove “bowls” from molds. Transfer to mini baking tray. Fill each of 6 bowls with 2 tablespoons DIY cocoa mix.
- Heat a small skillet over medium-low heat until just warm. Work with one empty chocolate bowl at a time. Put open side of the bowl down on the warm skillet very briefly, about 1 to 2 seconds, to lightly melt the edges. Immediately remove from skillet. Place the empty bowl on top of a bowl filled with cocoa mix. Gently press the 2 pieces together to seal.
- Remelt the leftover vanilla candy coating. Transfer to a plastic bag. With scissors, slice off a small piece of one corner. Drizzle melted white candy over the filled hot chocolate bombs. While the drizzle is still wet, attach 2 candy eyes to front or top of each. Stick the tray of cocoa bombs into the fridge to set.
- Prep Time: 15 Minutues
- Chill Time: 15 Minutes
- Cook Time: 0 Minutes
- Category: Dessert
- Method: No-Bake
- Cuisine: American

halloween hot cocoa bombs > join the conversation
Have you ever experienced the joy of a hot chocolate bomb? Did you know how easy they are to make at home? Share your thoughts on these mummy hot cocoa bombs in the comments below!













These are so cute! I’m getting excited for Halloween and the fall, so I’m definitely plan on making these to celebrate.
What a fun recipe the kids are going to love these~
These were so fun to make, and super yummy! Without the candy eyes they can be enjoyed all year. Thanks for such a creative recipe!
Nice, creative spooky desserts! Loved them!
Such a fun idea for Halloween! I love that drizzle to make the hot cocoa bombs look like mummies. My kids would really enjoy these.