Cheeseburger Sliders
This post may contain affiliate links. Read full disclosure.

Cheeseburger sliders are juicy mini burgers that are perfect for feeding a hungry crowd! When paired with a fresh garden salad, these popular game-day appetizers make a delicious meal. Prep and cook this easy sliders recipe in 30 minutes!

CHEESEBURGER SLIDERS INGREDIENTS
These are the ingredients for making the best hamburger sliders you’ve ever tasted!
- Ground chuck
- Ground sirloin
- Steak sauce
- Worcestershire Sauce
- Onion flakes (dried minced onion)
- Garlic powder
- Sea salt
- Black pepper
- Cheddar cheese
- Dill pickle slices
- Slider rolls or Hawaiian sweet rolls
- Optional: sesame seeds plus melted butter
PARTY-PLANNING TIPS: When hosting large backyard gatherings, it’s always best to include a no-meat option like SPICY GRILLED LIME SHRIMP. For refreshing drinks, choose a versatile option like PINEAPPLE PARTY PUNCH. This non-alcoholic beverage can easily be turned into your favorite rum punch recipe!

SEEDED SLIDER BUNS
If you can’t find small buns with sesame seeds, but you’d like that delicious added texture, here’s how to do it:
- You’ll need: slider buns, sesame seeds, butter and a pastry brush.
- In a microwave-safe ramekin, melt the butter.

- Working with one slider bun at a time, brush the top with melted butter.
- Sprinkle seeds over the buttered top.
- Now you have a beautiful set of seeded buns!

SLIDERS RECIPE
- In a medium bowl add the ground beef, Worcestershire sauce, steak sauce, and all the spices. Mix with clean hands or a spatula.
- On a baking tray or cutting board, spread the meat mixture across the surface. Form a 1/2-inch thick circle or rectangle.
- Use a biscuit cutter or large glass to cut out 3 round slider patties. Gather the scraps together and form a second circle. Cut out the final 3 sliders. The 6 meat patties should be slightly larger than the buns.
- With two fingers or your thumb, make a deep depression in the center of each beef patty. If desired, sprinkle each patty with a bit more salt and pepper.

HOW TO MAKE SLIDERS
- Brush melted butter or olive oil over the surface of a grill pan.
- Over medium-high heat, grill the sliders for about 4 minutes.
- Use a spatula to flip over the mini burgers.
- Continue grilling for 4-6 minutes or until patties reach the desired level of doneness.

CHEESEBURGER SLIDERS RECIPE
- Heat the oven to 350 degrees F.
- Line a baking tray with parchment paper or a silicone baking mat.
- Lay the six bottom halves of the slider buns on the baking tray.
- Place grilled meat patties on top of the buns.
- Lay a half slice of cheese across each slider.

HOW TO ASSEMBLE CHEESEBURGER SLIDERS
- Bake the open-faced cheeseburger sliders for 5 minutes or until the cheese has completely melted.
- Add the top half of the buns to each of the burgers and continue baking for another 4 minutes.
- Remove hot sliders from the oven. Let them rest for 3-5 minutes.
- Transfer homemade sliders to a serving tray. Serve with pickles and traditional condiments: mustard, mayo, and catsup.

EXPERT TIPS FOR SLIDERS RECIPE
- WHY WE USE TWO TYPES OF GROUND BEEF: Ground chuck is the all-time standard for hamburgers. Its high-fat content is optimal for tasty juicy burgers. Ground sirloin is lean, super flavorful and much more expensive. By combining these in a 50/50 ratio, we’re creating the ultimate cheeseburger sliders!
- DO NOT OVERWORK THE MEAT: When mixing and shaping the ground beef, do not over work the meat. When the meat is not tightly packed you’ll experience a juicier burger with a more delicious texture!
- HOW TO PREVENT PUFFY BURGERS: Make a depression in the middle of each patty with your thumb. This will help prevent the middle of your burgers from getting rounded and puffy as they cook. It helps keep them level and flat.
- OUTDOOR GRILLING: Slider patties taste best when cooked on a gas or charcoal grill. Heat your grill to 450 degrees. Allow the sliders to cook about two minutes on one side and then gently flip them onto an area of the grill that has slightly less heat. For medium-rare sliders cook the meat for an additional 4 minutes. For well-done sliders cook an additional 6 minutes.
- FLIP BURGERS ONLY ONCE: Sliders should be flipped only once during grilling.
- DO NOT FLATTEN SLIDERS WITH A SPATULA: Compressing the meat will drain delicious juices that are important when making juicy hamburger sliders.
- WHEN TO ADD THE CHEESE: Just before the sliders are done, add a slightly over-sized piece of cheese on top of each. As the cheese begins to melt down the edges of the sliders, quickly remove them from the grill.
- ALLOW SLIDERS TO REST BEFORE EATING: As hamburgers are cooked, their juices are driven into the center of the patties. By giving them 3-5 minutes of resting time, the juices can redistribute throughout the patties and be reabsorbed into the meat. If cutting the burgers, less juices will be lost. When biting into your cheeseburger it’ll be more tender and juicy!
- SAFE MEAT HANDLING: Find helpful information here: USDA GRILLING AND FOOD SAFETY.

HOW TO PREP HAMBURGER SLIDERS IN ADVANCE
When prepping for a Game-Day feast, your slider patties can be made in advance.
- Prep the hamburger patties on a tray.
- Separate the rows of patties with a sheet of foil to prevent them from sticking together.
- Tightly cover the tray with plastic wrap so the meat doesn’t dry out.
- Place the tray in the refrigerator.
- Pull the sliders out of the refrigerator about 20-30 minutes before grilling. Let the cold covered tray sit on your countertop. The meat needs enough time to shed off some of the cold.
KITCHEN TOOLS FOR THIS RECIPE
These handy kitchen tools will help you get the job done!
RATE THIS RECIPE! ⭐️⭐️⭐️⭐️⭐️
Did you enjoy these juicy sliders? Rate this recipe in the comments below!
![]()

Cheeseburger Sliders
- Total Time: 30 Minutes
- Yield: 6 Sliders 1x
Description
Juicy cheeseburger sliders are the perfect choice for game-day appetizers! Make this easy sliders recipe in 30 minutes.
Ingredients
- 1/2 pound ground chuck
- 1/2 pound ground sirloin
- 1 tablespoon steak sauce
- 1 tablespoon Worcestershire Sauce
- 2 teaspoons onion flakes
- 1 teaspoon garlic powder
- 1 teaspoon freshly-ground black pepper
- 3/4 teaspoon salt
- 3 slices cheddar cheese (cut each slice in half)
- 6 dill pickle slices
- 6 slider rolls or Hawaiian sweet rolls
- Optional: sesame seeds and melted butter
Instructions
- In a medium bowl add the ground beef, steak sauce, Worcestershire sauce, and all the spices. Mix with clean hands or a spatula.
- On a baking tray or cutting board, spread the meat mixture across the surface. Form a 1/2-inch thick circle or rectangle. Use a biscuit cutter or large glass to cut out 6 round slider patties. With two fingers or your thumb, make a slight depression in the center of each beef patty. If desired, sprinkle each patty with a bit more salt and pepper.
- Brush melted butter or olive oil over the surface of a grill pan. Over medium-high heat, grill the sliders for about 4 minutes. Use a spatula to flip over the mini burgers. Continue grilling for 4-6 minutes or until patties reach the desired level of doneness.
- Heat the oven to 350 degrees F. Line a baking tray with parchment paper or a silicone baking mat.
- Lay the six bottom halves of the slider buns on the baking tray. Place the grilled meat patties on top of the buns. Lay a half slice of cheese across each slider. Bake the open-faced cheeseburger sliders for 5 minutes or until cheese has completely melted. Add the top half of the buns to each of the burgers and continue baking for another 4 minutes.
- Remove sliders from the oven and allow them to rest for 5 minutes.
- Serve homemade sliders on a tray alongside an array of popular toppings.

Notes
EXPERT TIPS FOR SLIDERS RECIPE
- WHY WE USE TWO TYPES OF GROUND BEEF: Ground chuck is the all-time standard for hamburgers. Its high-fat content is optimal for tasty juicy burgers. Ground sirloin is lean, super flavorful and much more expensive. By combining these in a 50/50 ratio, we’re creating the ultimate cheeseburger sliders!
- DO NOT OVERWORK THE MEAT: When mixing and shaping the ground beef, do not over work the meat. When the meat is not tightly packed you’ll experience a juicier burger with a more delicious texture!
- HOW TO PREVENT PUFFY BURGERS: Make a depression in the center of each patty with your thumb. This will help prevent the middle of your burgers from getting rounded and puffy as they cook. It helps keep them level and flat.
- OUTDOOR GRILLING: Slider patties taste best when cooked on a gas or charcoal grill. Heat your grill to 450 degrees. Allow the sliders to cook about two minutes on one side and then gently flip them onto an area of the grill that has slightly less heat. For medium-rare sliders cook the meat for an additional 4 minutes. For well-done sliders cook an additional 6 minutes.
- FLIP BURGERS ONLY ONCE: Sliders should be flipped only once during grilling.
- DO NOT FLATTEN SLIDERS WITH A SPATULA: Compressing the meat will drain delicious juices that are important when making juicy hamburger sliders.
- WHEN TO ADD THE CHEESE: Just before the sliders are done, add a slightly over-sized piece of cheese on top of each. As the cheese begins to melt down the edges of the sliders, quickly remove them from the grill.
- ALLOW SLIDERS TO REST BEFORE EATING: As hamburgers are cooked, their juices are driven into the center of the patties. By giving them 3-5 minutes of resting time, the juices can redistribute throughout the patties and be reabsorbed into the meat. If cutting the burgers, less juices will be lost. When biting into your cheeseburger it’ll be more tender and juicy!
- Prep Time: 12 Minutes
- Cook Time: 18 Minutes
- Category: Appetizers, Dinner
- Method: Grilling, Oven
- Cuisine: American
![]()
SLIDERS RECIPE > PIN IT TO PINTEREST!
Get ready for BBQ season! PIN THIS RECIPE NOW!

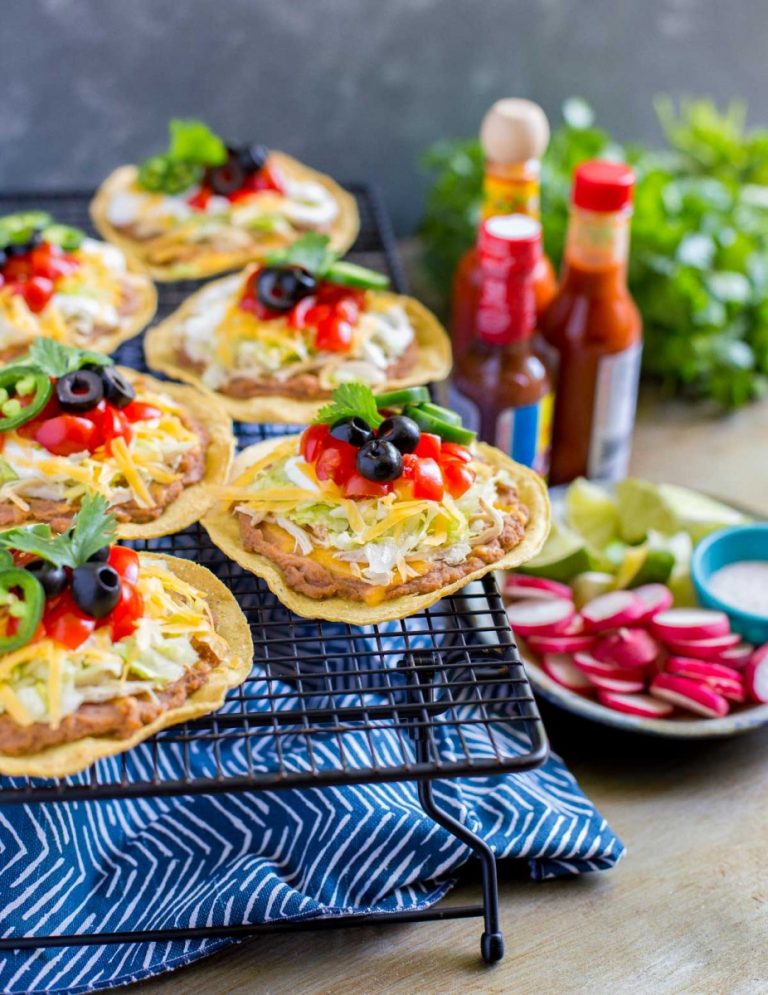
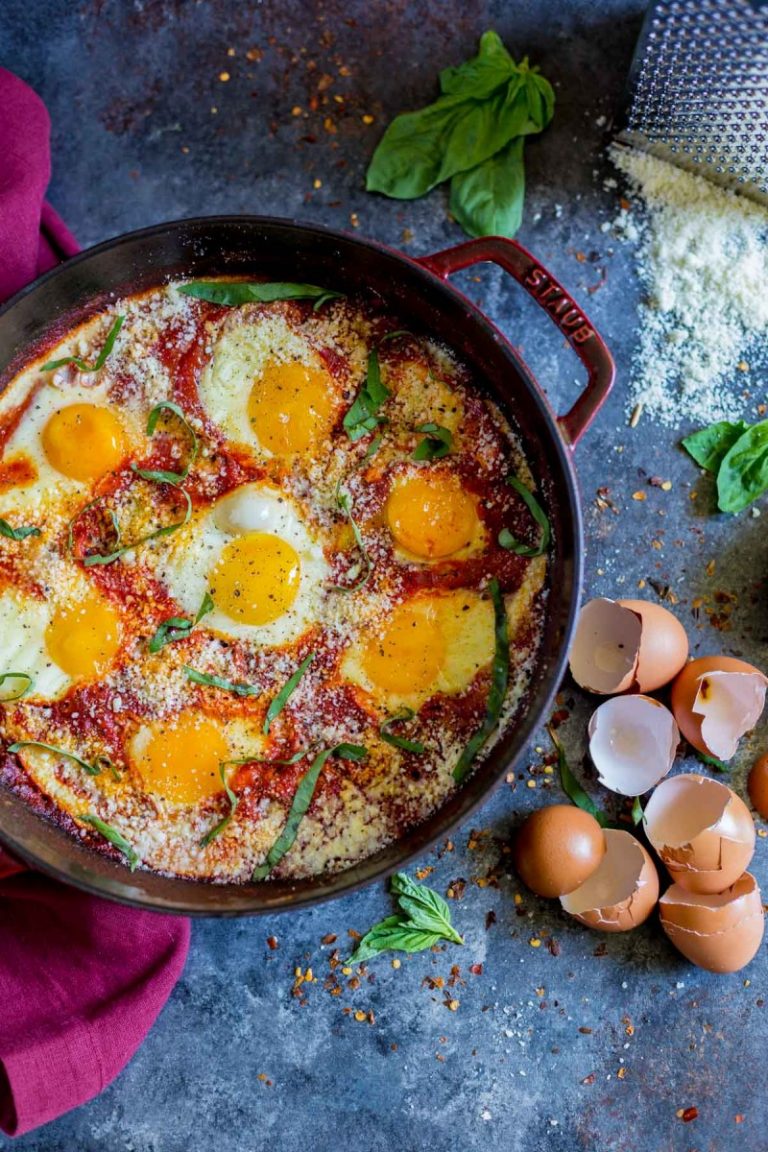
EASY APPETIZERS FOR A PARTY
If you loved these cheeseburger sliders, you’ll enjoy these appetizer recipes:
- PINEAPPLE SHRIMP SKEWERS
- WONTON TACO CUPS
- TORTELLINI PARTY SNACKS
- JALAPENO BACON DEVILED EGGS
- AUTHENTIC MEXICAN GUACAMOLE
![]()
CHEESEBURGER SLIDERS – JOIN THE CONVERSATION!
Do you love juicy burgers hot off the grill? What do you think about this sliders recipe? Join the conversation in the comments below!


Just looking at the photos it makes me wanna eat cheeseburgers. Will surely try this. I never had grilled patties on burgers, always pan fried.
I agree with you this is perfect sliders for game day. Not only delicious also filling. I love good cheeseburger any day than any other food.
I am a big fan of sliders. They are the perfect size for a fun party food!
So, I don’t eat meat, but these look so good, they have me questioning my choices lol.
I had to give this five stars! I am starving, the sliders look amazing and I feel like I could make them quickly and get a great meal for me!
My family would be all over these. I myself don’t eat meat, but I’m sure they would devour these in minutes.
These look absolutely delicious! I am so excited for warm weather to come to my neck of the woods and look forward to cooking this recipe on the grill! Yum!!!
Cheeseburger sliders are some of my favorites! I enjoy them for summer time grilling. My kids like them, too.
Perfect and easy for game day. Loved it!
I love cheeseburger sliders! Your pictures made me hungry too. They look delicious!
I absolutely love a good burger!! These look delicious and I love your photos!
Sarah
This recipe looks amazing. I would love to make this recipe on a whim for my family. They love cheeseburgers.
The games are coming soon and this is a great snack to serve during March Madness. These will be a crowd pleaser at any getogether.
These look so good! I love a good slider. Great tips!
These would be such an amazing dinner. I know my entire family would gobble them up. I’ll have to make them one evening for sure.
We do our sliders either on the BBQ grill or under the broiler. Gets rid of the extra grease but still leaves a great taste.
Omg you had me at burgers and these look amazing! I’ll def be making a few of these for some March Madness going on at my home ha! Easy and yummy!
These slidders look yummy, I’ve never made them before. Love the beef tip I will keep that in mind when I attempt to make these myself.
Your sliders look amazeballs! I love that tip about flipping the patties only once- I have been doing it wrong- now I’ll going to make the perfect burgers!
These cheese burger sliders look so delicious! Love how you went into detail about cooking the beef. Thanks for sharing!
Definitely craving burgers now. These sliders look so juicy and perfect for a bbq party!
Ah these look so yummy. The instructions are so detailed that you couldn’t go wrong. I’m so angry that I’m currently on a Keto diet because I could really do with this. Or maybe I should do bunless.
Wow, these look like total winners! I’ll be sure to give them a try with my husband- and thanks for going into all the prep details!
These are so cute and look delicious. Great tip in leaving a depression in the burger, it actually works.
Happy to report I tried this recipe and everything turned out delicious! It seemed like 2-3 sliders were enough to feed a person. Smaller sliders are a lot more fun to eat, allowing the connoisseur to play with different toppings combinations on each one.
This looks so good… and the recipe is detailed and quite easy to follow!
These sliders look amazing! And With opening day around the corner, I will be making these very soon!
I am going to make these tonight, I think! My step-son LOOOVES sliders. These look delicious!
These look so good, and perfect for the big game! :)
Amanda – TheFashionToFollow.com
These look amazing! They are sure to be a hit at our game day party! xoxo
Oh man, those look divine! And you can never go wrong with Tillamook cheese. :)
These look AMAZING! My boyfriend would love these!
Wow! Those are gorgeous sliders. This will be perfect for this weekend. Hoping mine turn out as pretty ;)
Ok I’m adding these to my game day menu. What a perfect proportion for little hands!
xoxo
January
http://www.thebouncyponytail.com/
Mmm, I found what I will bring to our superbowl party! Thanks!
These sliders look SO perfect for game day! I usually make turkey burgers but may have to go all in with the ground sirloin for game day coming up, and this recipe would be so great! Thanks!
This looks great! The melted cheese is so tempting! :)
Yum! Those sliders look amazing!
Those sliders looks so good!!! A super tasty little meal.
–Melissa
http://www.melissamchee.com
These look perfect for any game day or any group or family gathering! Wow – I bet these are great with the men especially, but women, too! Thanks for sharing!
Oh man, those look SO DANG GOOD. My mouth is like watering.
These look so good; the perfect burger! We have a hard time finding slider buns where we live otherwise, I’d be making these this weekend!
Oh my, these look delicious! I can’t wait to try them!!
Mmmmm serious soft spot for sliders. Your recipe look amazing and the photos totally sell it. This gets me super excited for Super Bowl. I might have to bring these – no one can resist ‘lil mini burgers, right?!
Wow. Those look absolutely delicious! I have pinned them so we can try them!!
I absolutely love this time of year because the of the lists of great recipes and finger foods. I love sliders and we’ve started making sliders instead of full burgers.
Oh my goodness these look amazing! Perfect for game day :)
These are great anytime.
OH wow those look soooo good!
-Lee Anne
http://lifebylee.com/